IMG_0845.jpg
IMG_0846.jpg
IMG_0849.jpg
IMG_0851_0853_Panorama.jpg
IMG_0856.jpg
Click here to return to the main Pictures index.
Click here to return to the main 2011 General Pictures Page.
Click here to go back to Lake District 2011 Page 1.
Click here to go back to Lake District 2011 Page 2.
Click here to go back to Lake District 2011 Page 3.
Click here to go to Lake District 2011 Page 5.
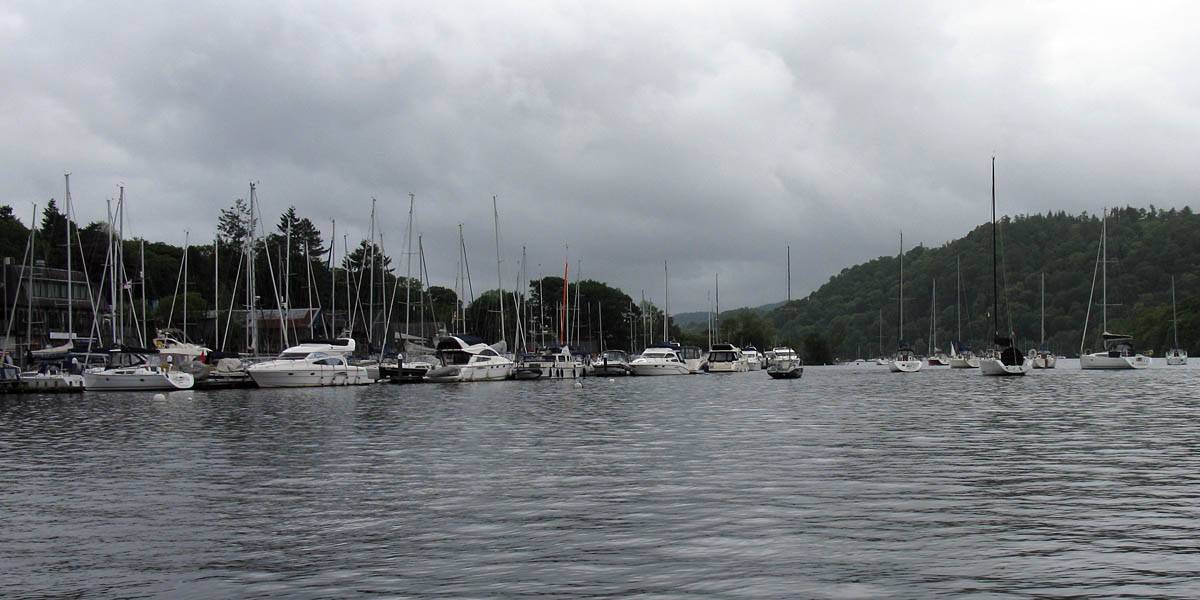
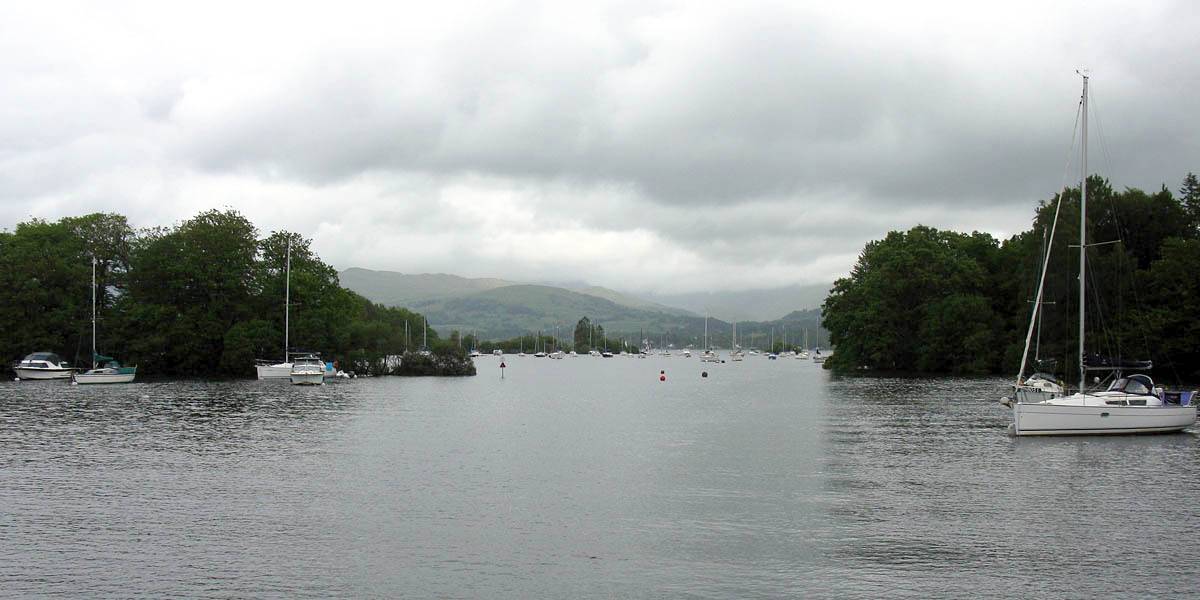
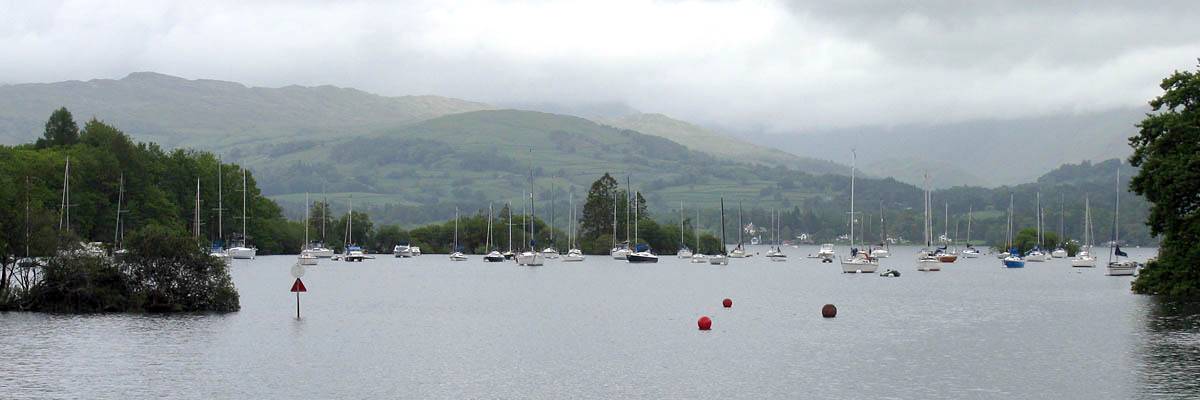
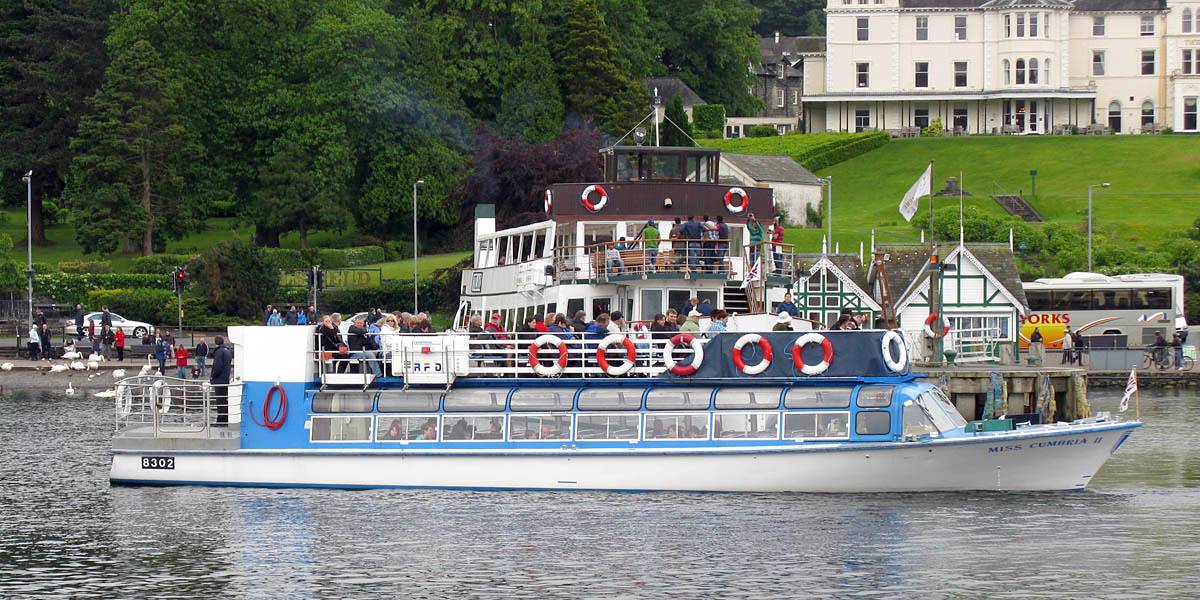
After the long drive yesterday we took it easier today. It was a rainy start. So we decided to look at the Beatrix Potter exhibition which was a short walk from the BnB. However we decided it wasn't for us and not worth paying to enter. So we then went a little further along and after dithering over whether to hire a motorboat or not, we decided in the end to get on a larger boat for a 45 minute cruise around the islands. Admittedly we were a little bored but the sky was moody and the islands were pretty. After the boat trip we went to the nearby carvery and bar for a coffee with a view over the lake before returning to the BnB for a rest. We both napped for an hour, after which the weather was improving and the sun coming out. So for the afternoon we headed over to Loughrigg Tarn for a walk around the lake. The Small Pearl Bordered Fritillaries were a big bonus for me, being a butterfly enthusiast. The lake was pretty, although the cows and the locked gate were a pain, meaning the walk was uncompletable. However a detour through a camp site and caravan site got us to the pub near Skelwith Force. I left Renée at the pub to go and collect the car and bring it to the pub. After a drink we left for Ambleside and on back to Bowness. The return to the Kirkstone Pass in nice weather for supper was a nice bonus.
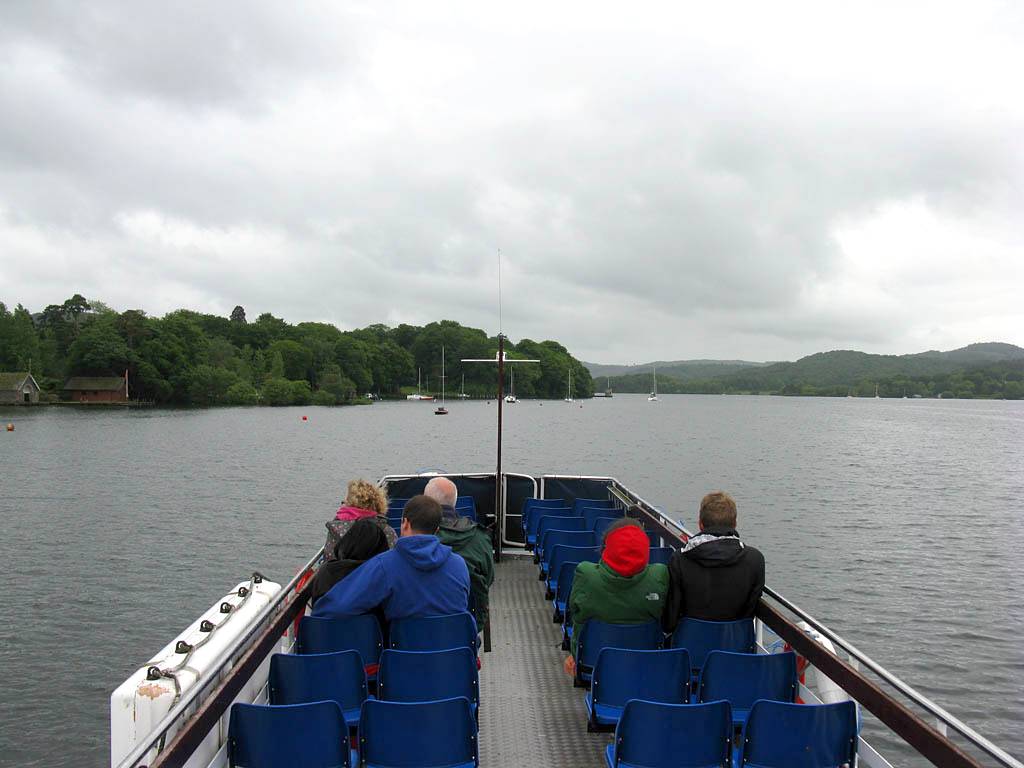
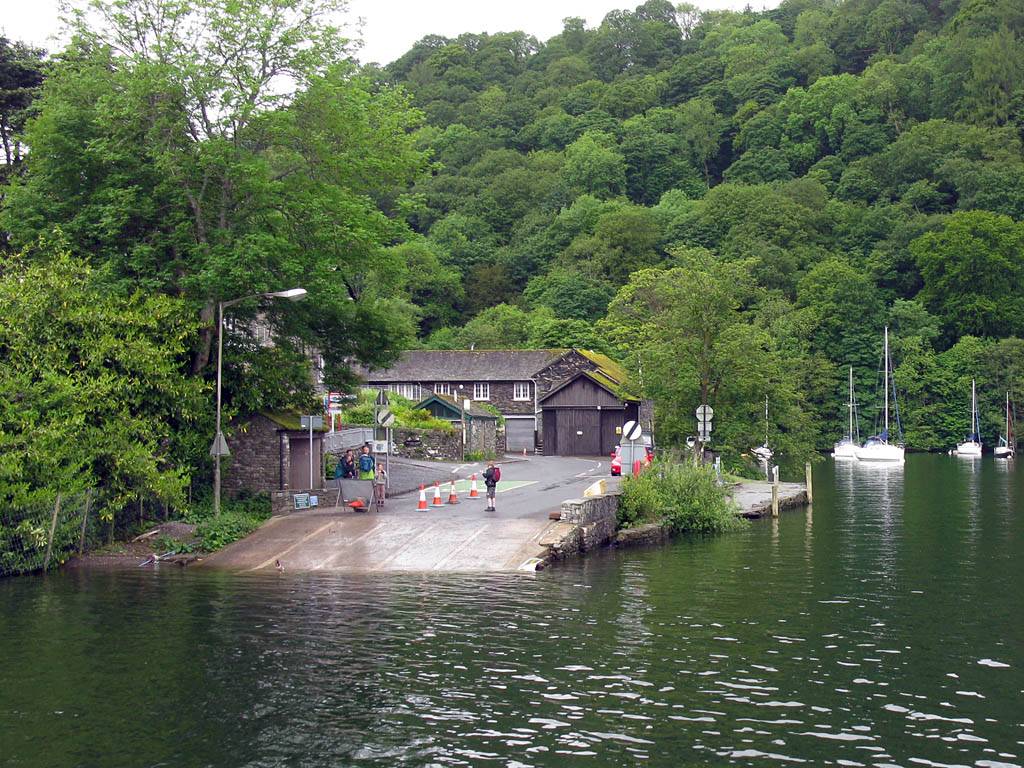
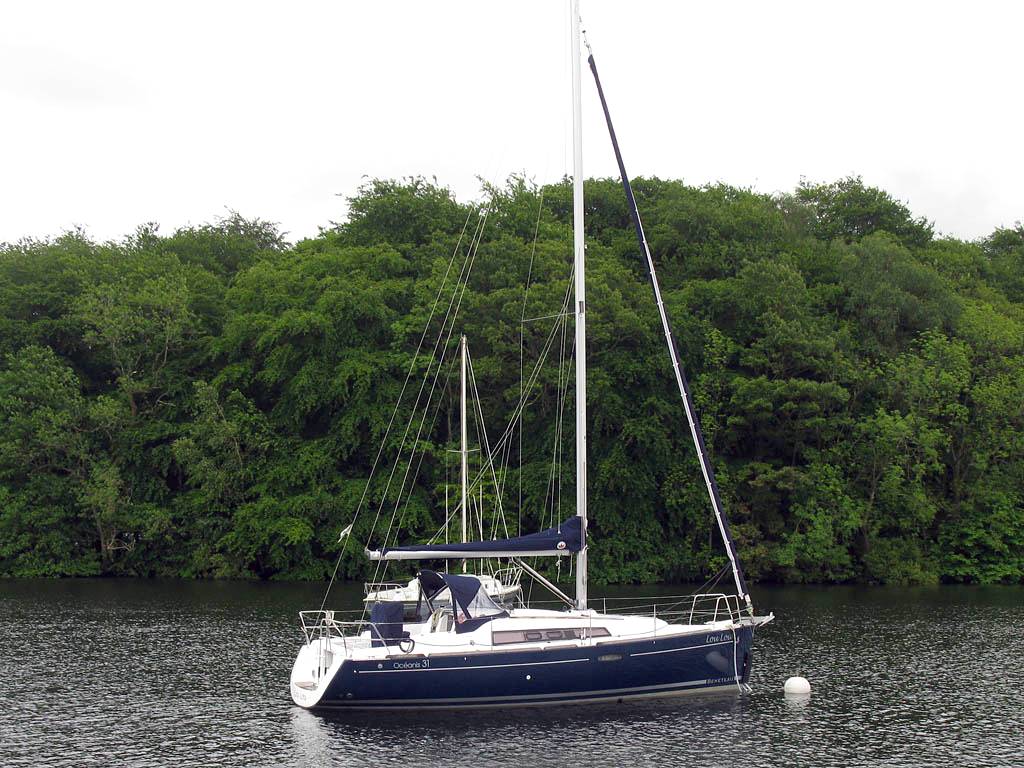
Windermere Boat Cruise. A slightly damp at times, but moody cruise around Lake Windermere.
|
IMG_0845.jpg |
IMG_0846.jpg |
IMG_0849.jpg |
IMG_0851_0853_Panorama.jpg |
IMG_0856.jpg |
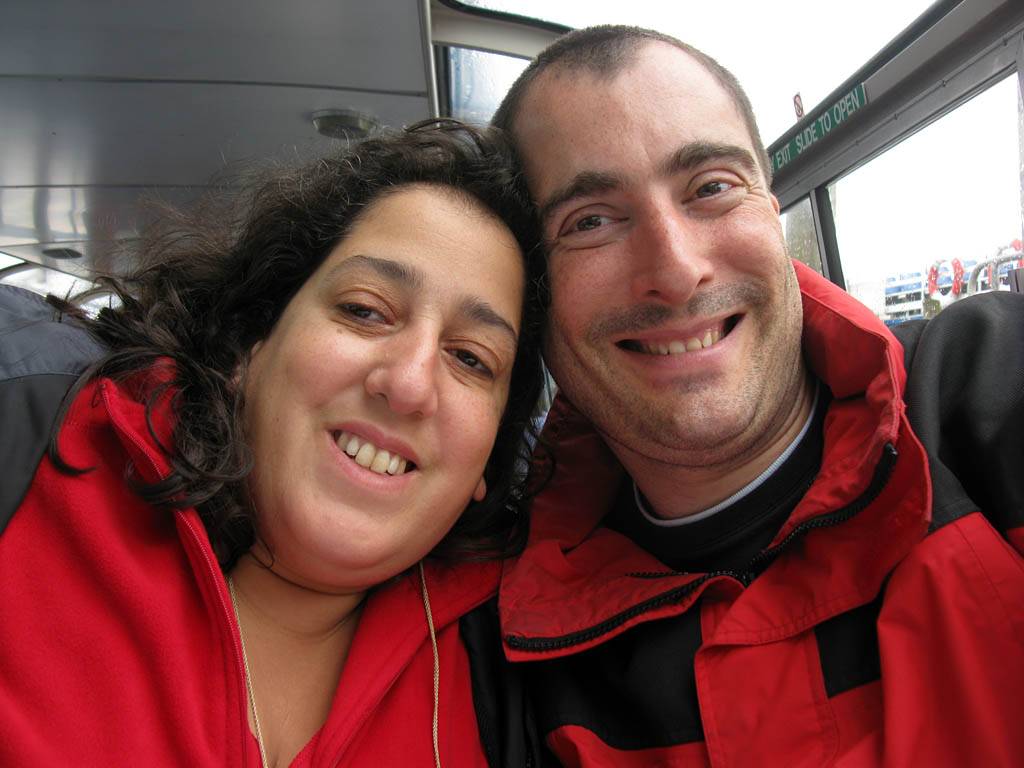
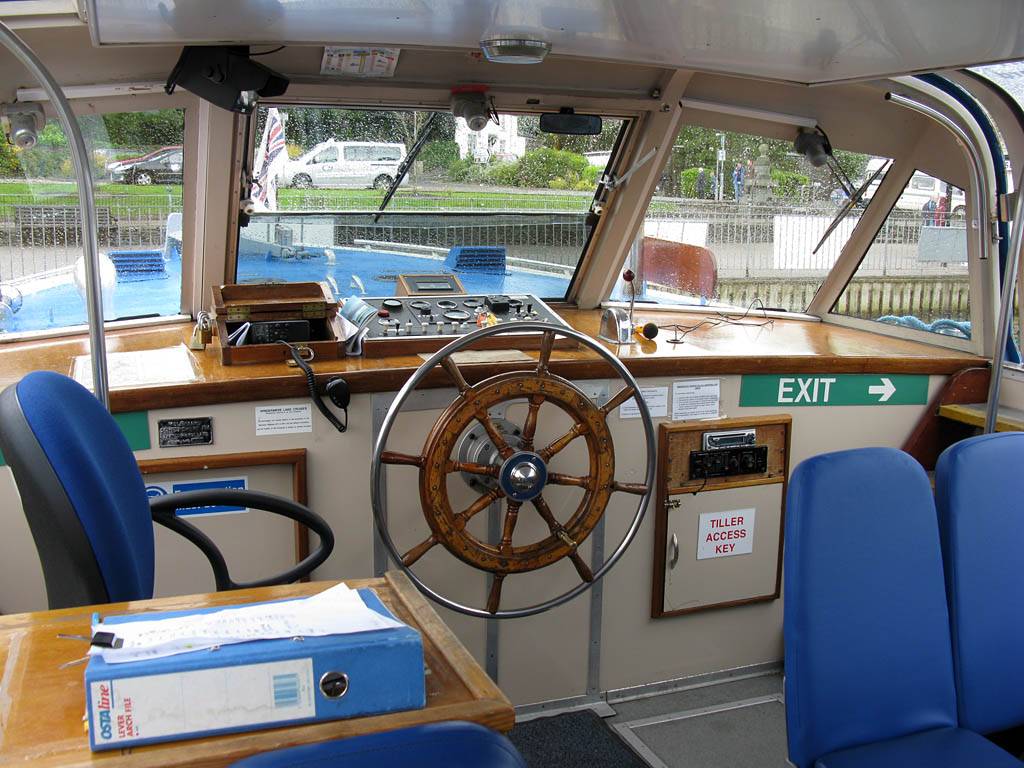
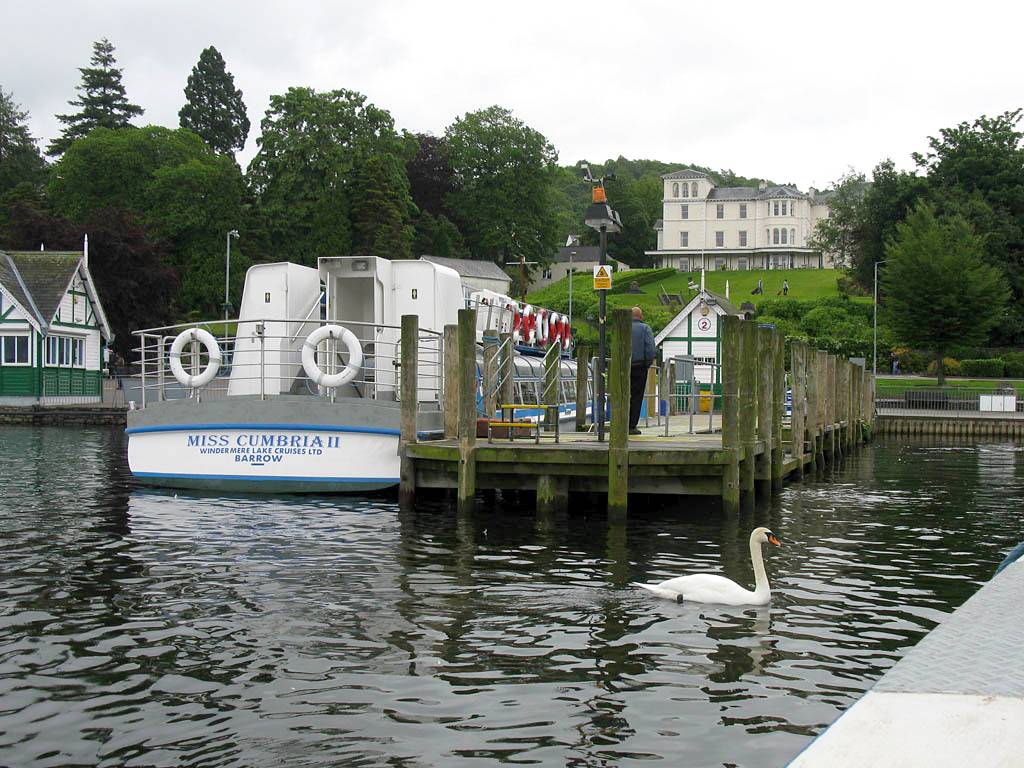
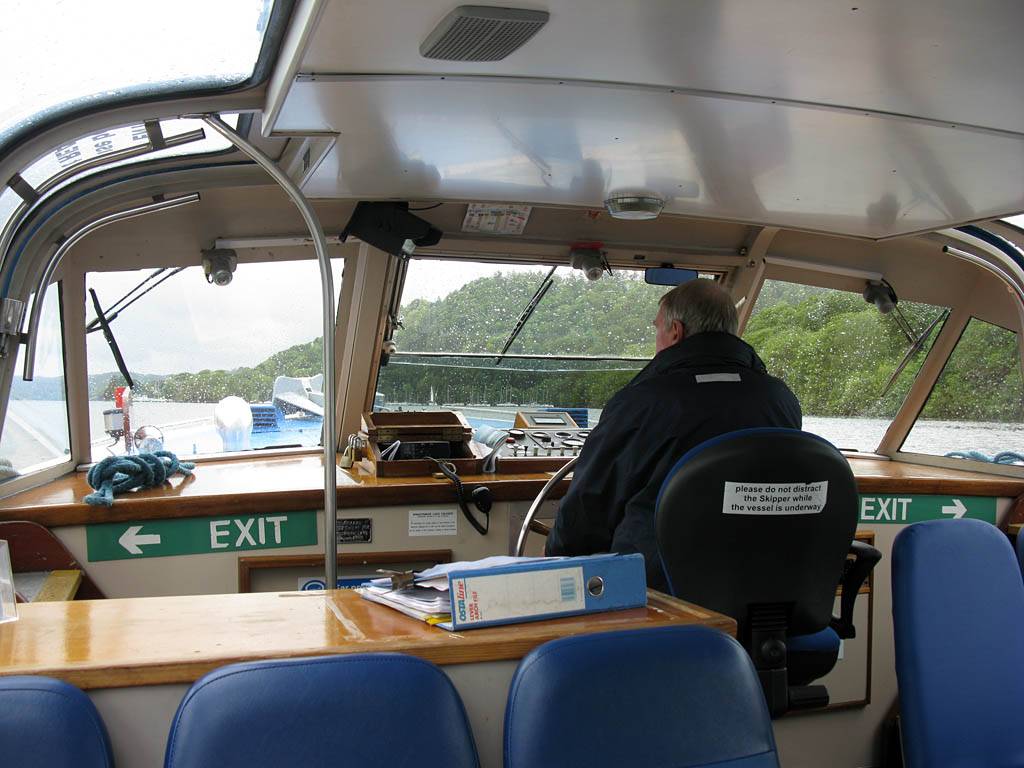
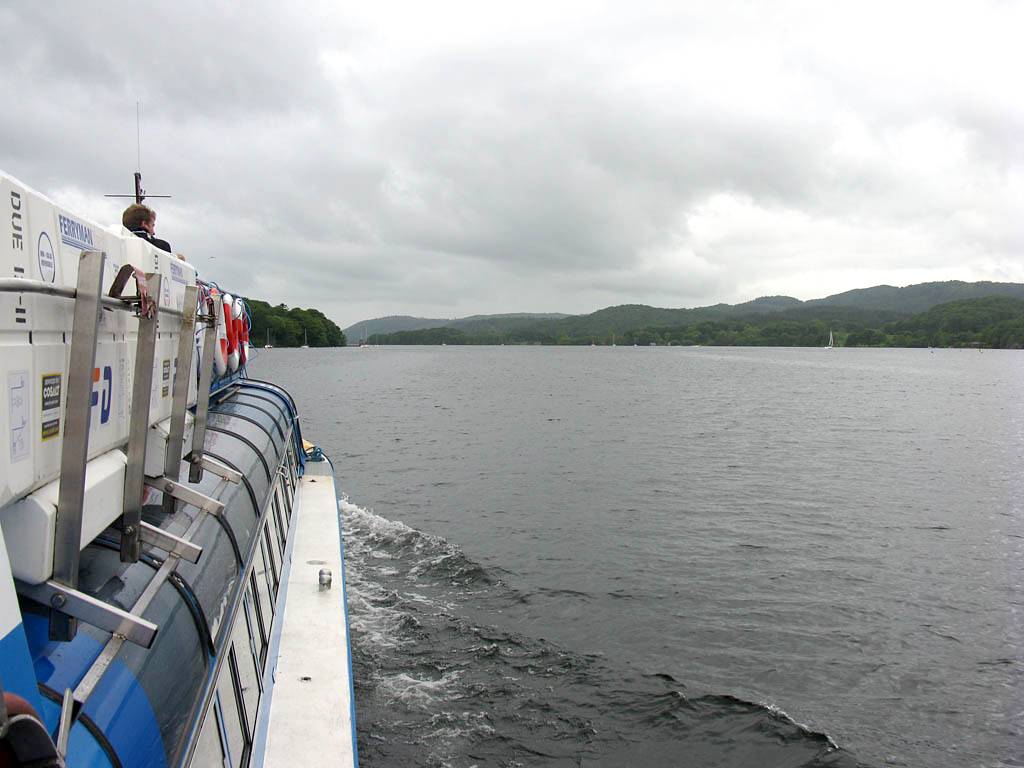
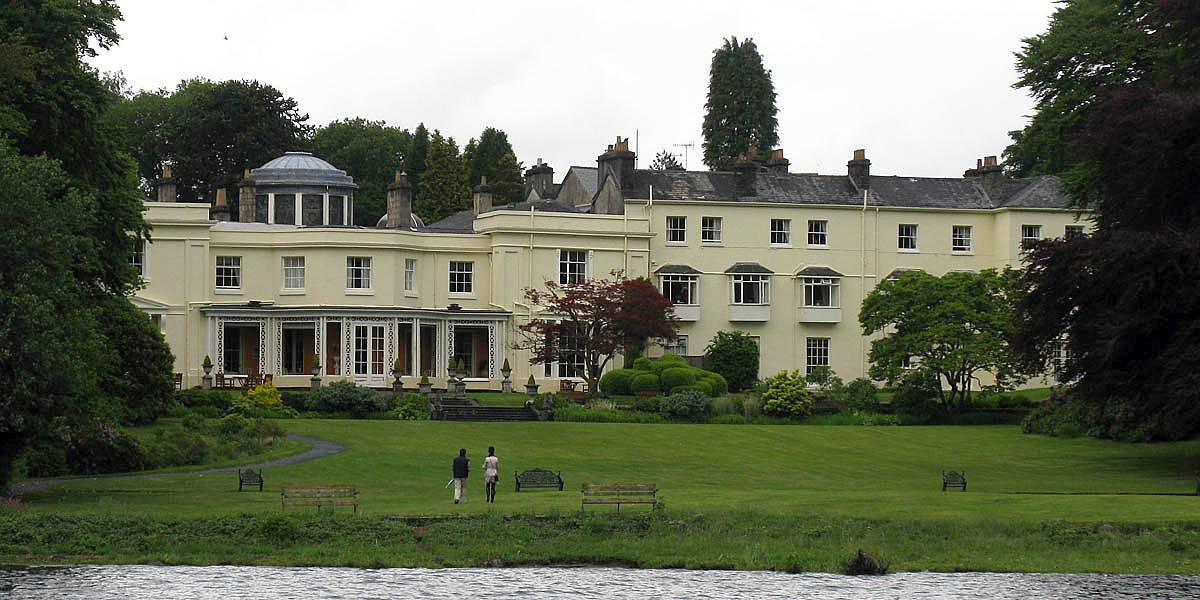
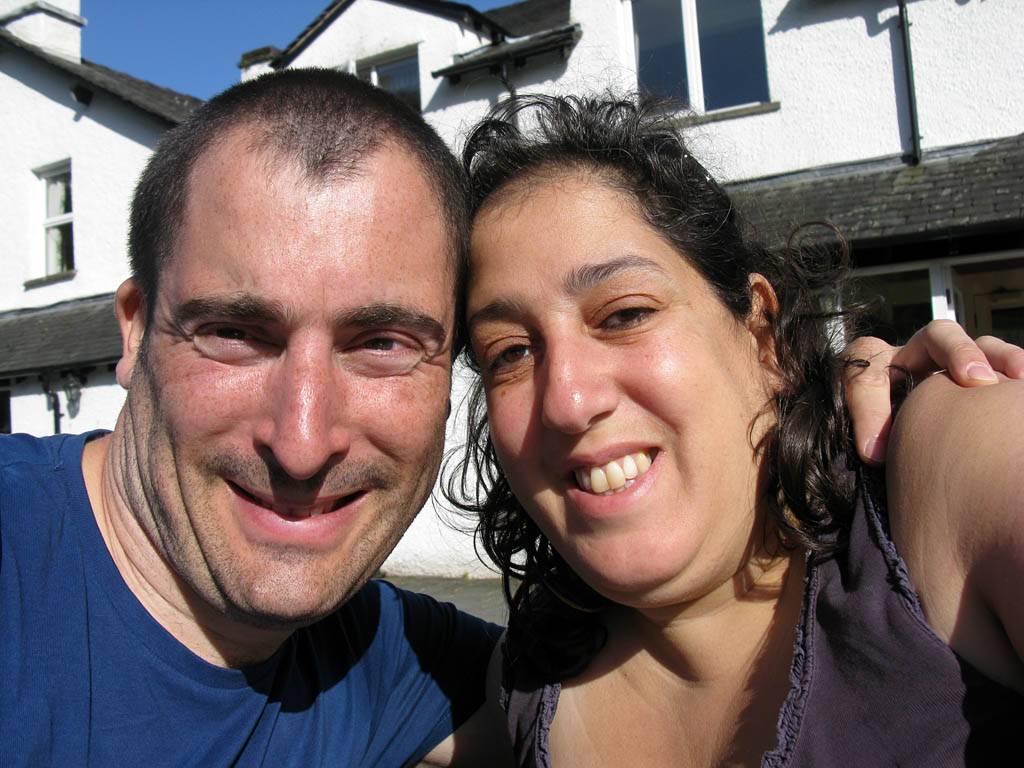
| Renée and Mike on the cruise boat. | The skipper's bridge. | Departing Bowness and surrounded by parked boats. | ||
 IMG_0857.jpg |
 IMG_0858.jpg |
 IMG_0860.jpg |
 IMG_0861.jpg |
 IMG_0862.jpg |
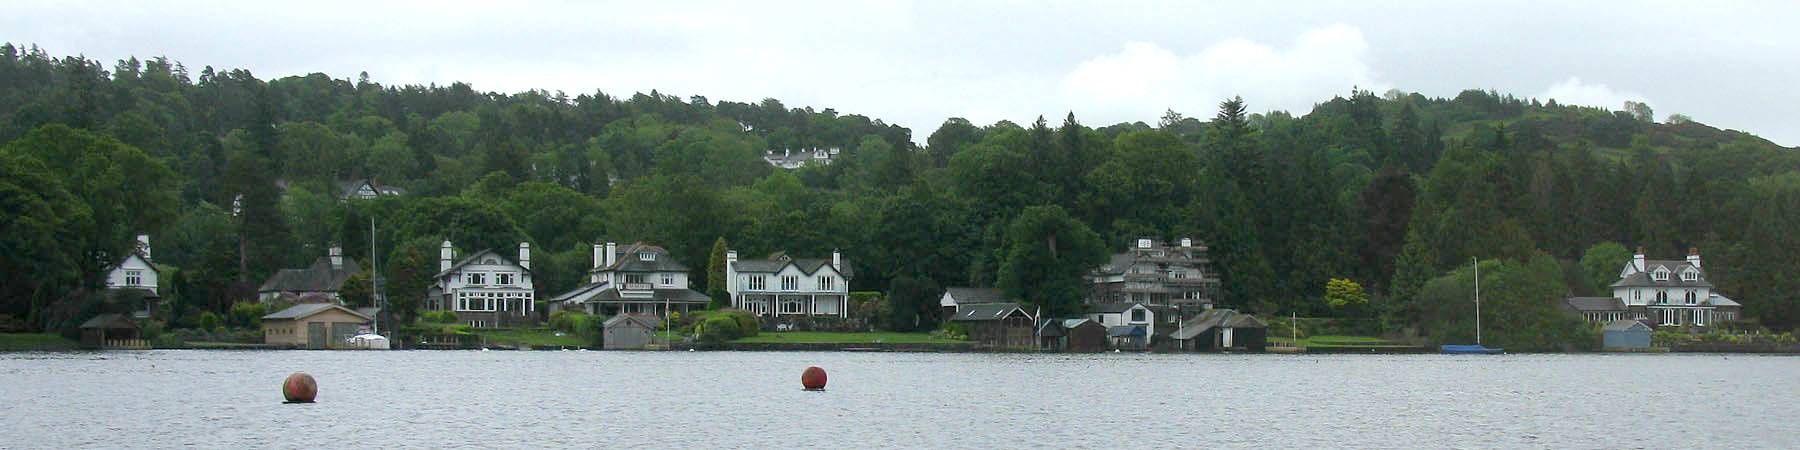
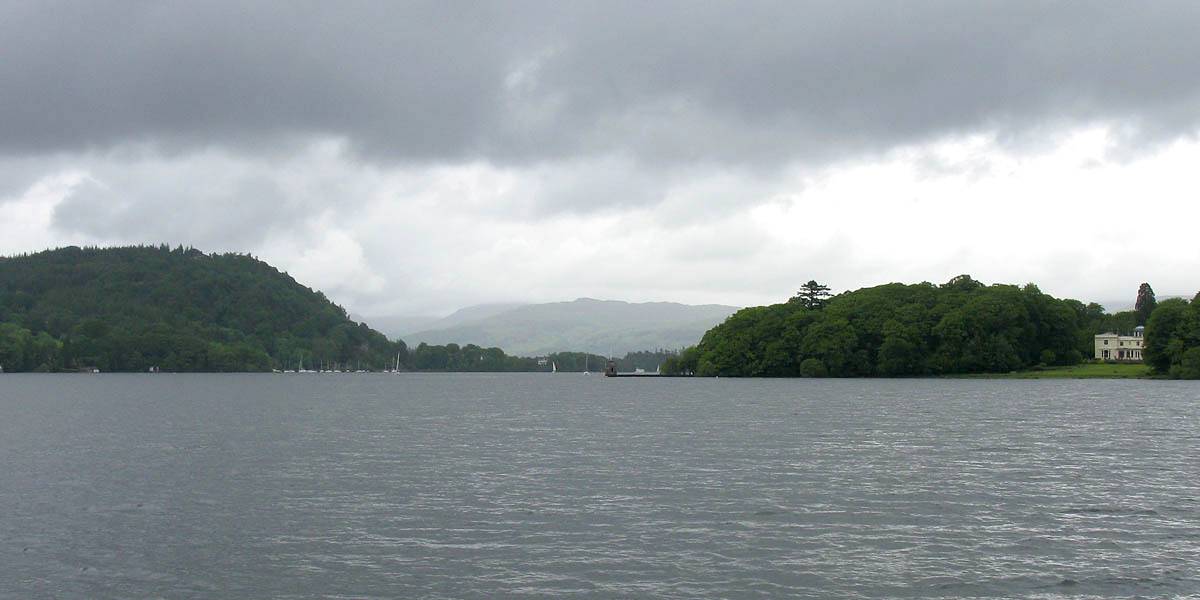
| The skipper at work. | Posh places along the shore of Windermere. | One of many small islands in the centre of Windermere. | Boats sailing on the lake. | Looking back from where we came. |
 IMG_0863.jpg |
 IMG_0864.jpg |
 IMG_0866.jpg |
 IMG_0867.jpg |
 IMG_0869.jpg |
 IMG_0871.jpg |
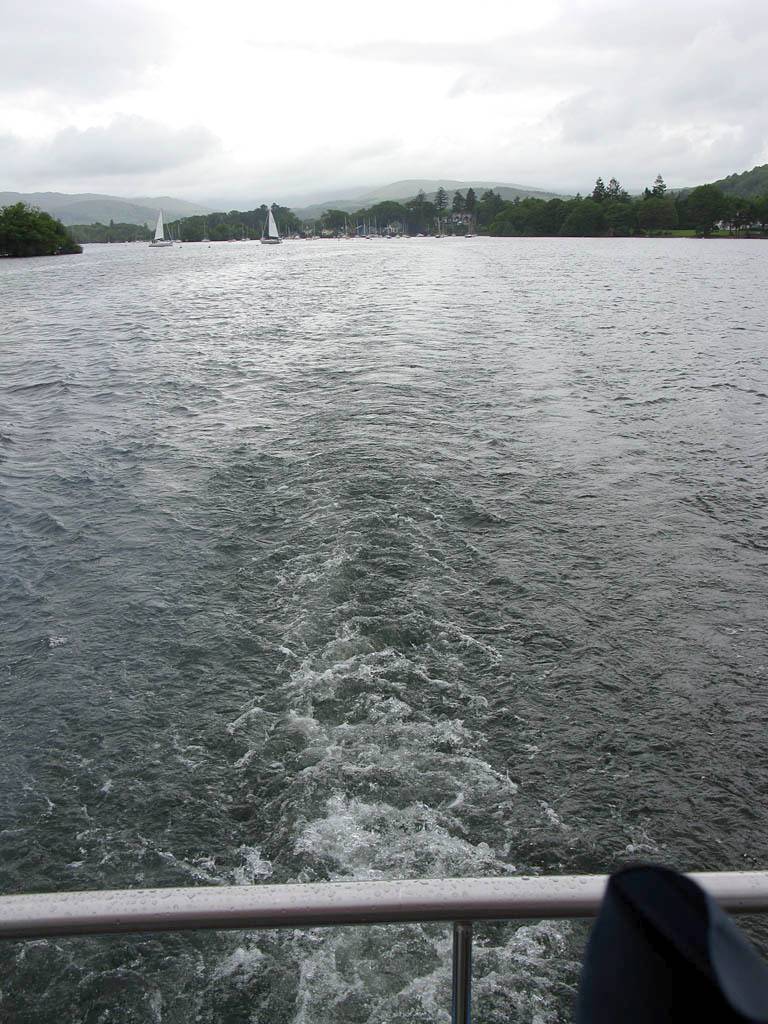
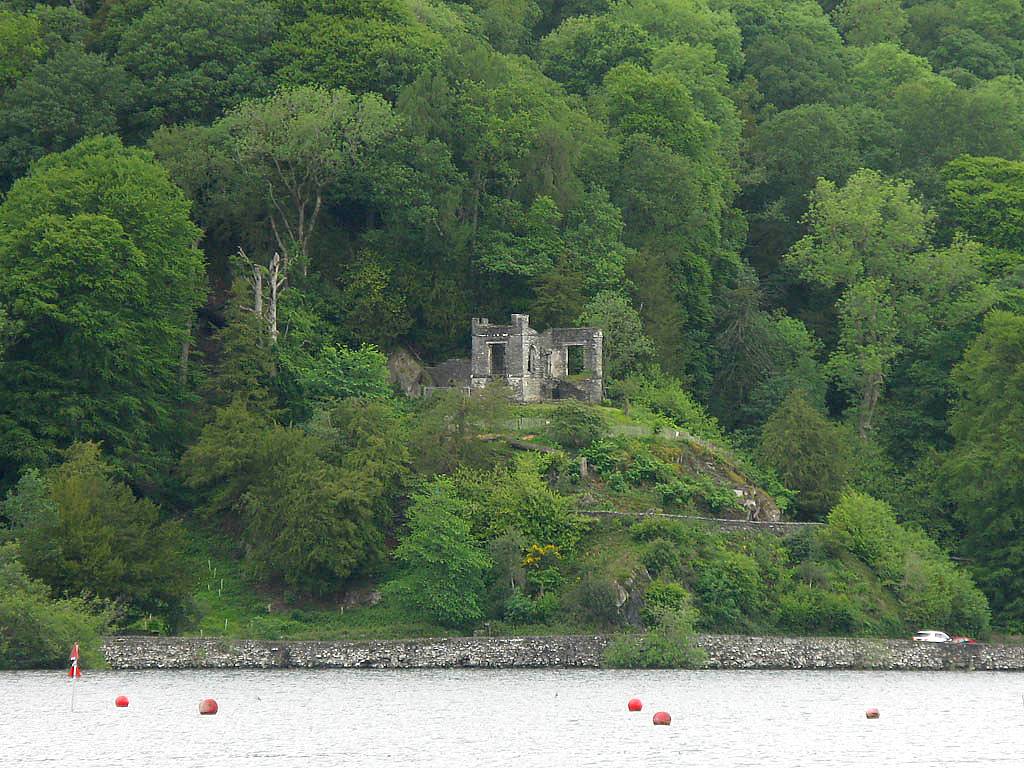
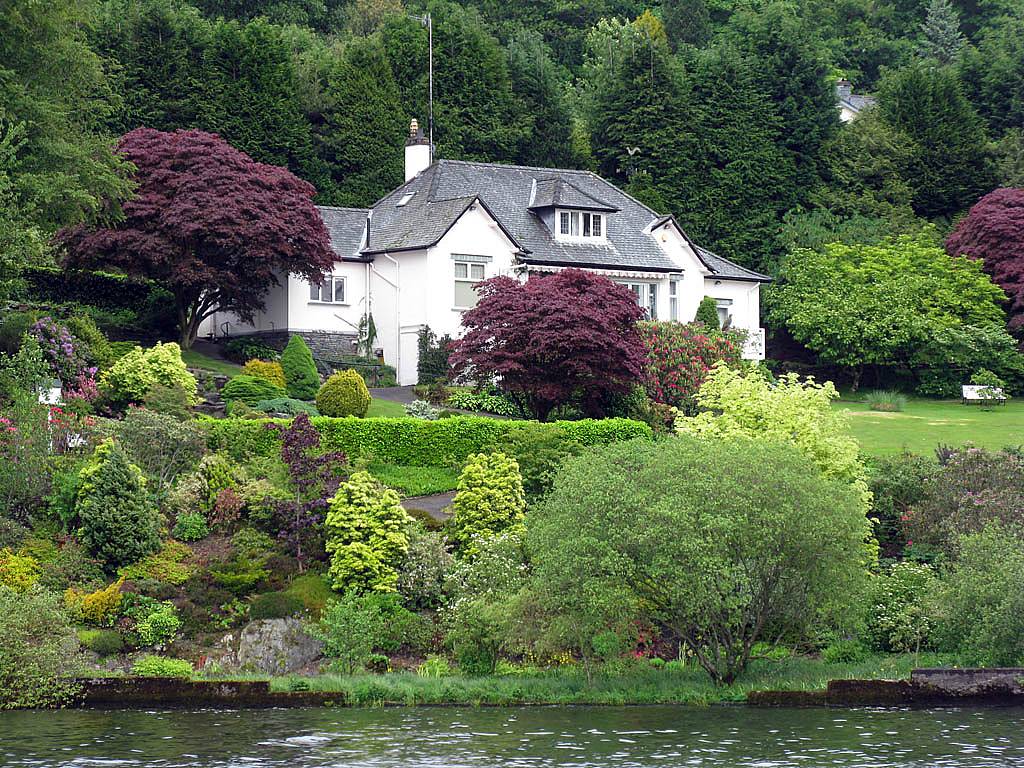
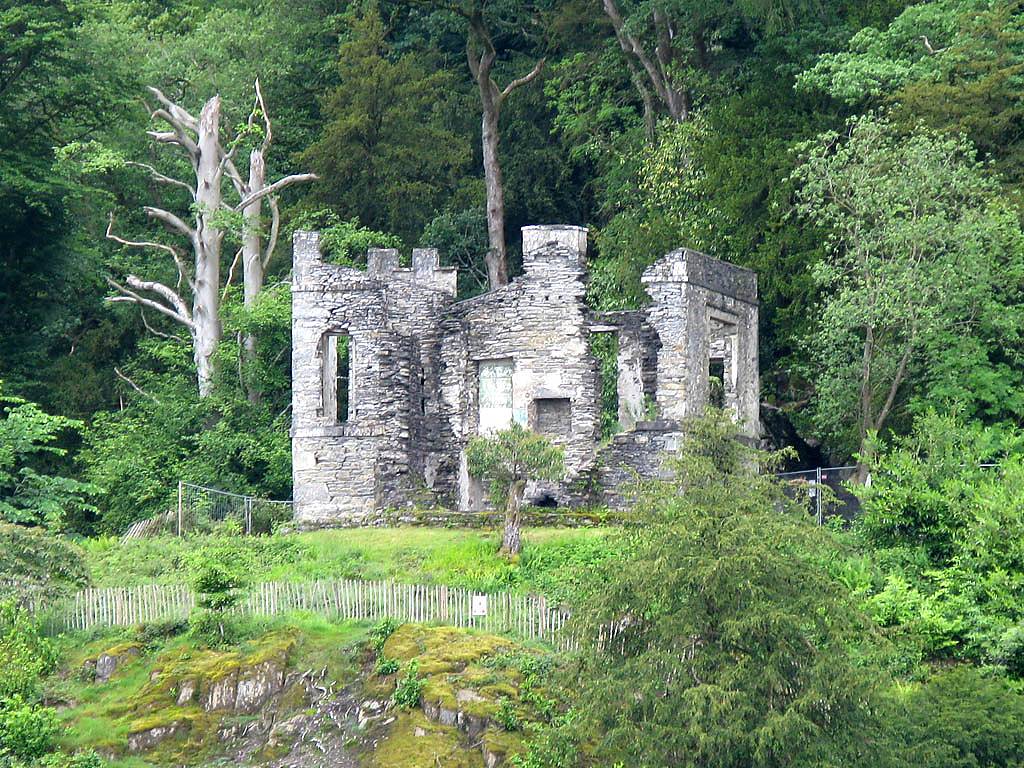
| Looking ahead as we cruise southwards. | A Victorian lookout point on the West side of the lake. | Carrying on southwards and enjoying the moody view. | Storrs Temple and Storrs Hall hotel. | ||
 IMG_0872.jpg |
 IMG_0874.jpg |
 IMG_0879.jpg |
 IMG_0886.jpg |
 IMG_0889.jpg |
 IMG_0892.jpg |
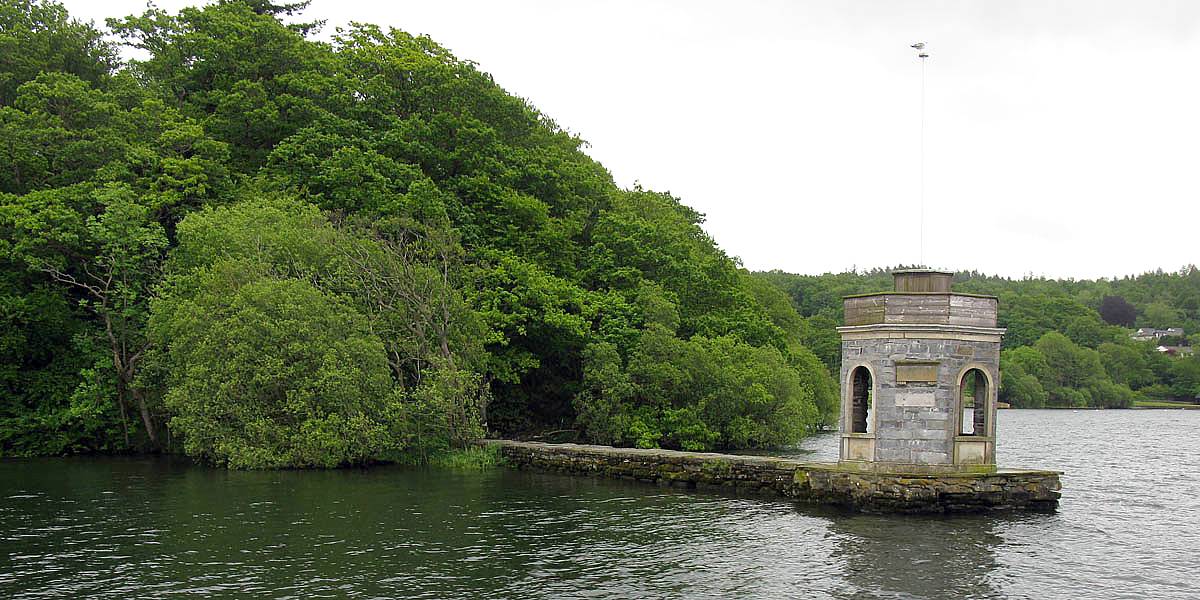
| Another fancy abode by the lake. | Looking back north to Storrs Temple. | Another curious looking lakeside place. | A closer look at the Victorian lookout point. | The Western side of the car ferry across the middle of the lake. | |
 IMG_0895.jpg |
 IMG_0896.jpg |
 IMG_0897.jpg |
 IMG_0898.jpg |
 IMG_0900.jpg |
 IMG_0901.jpg |
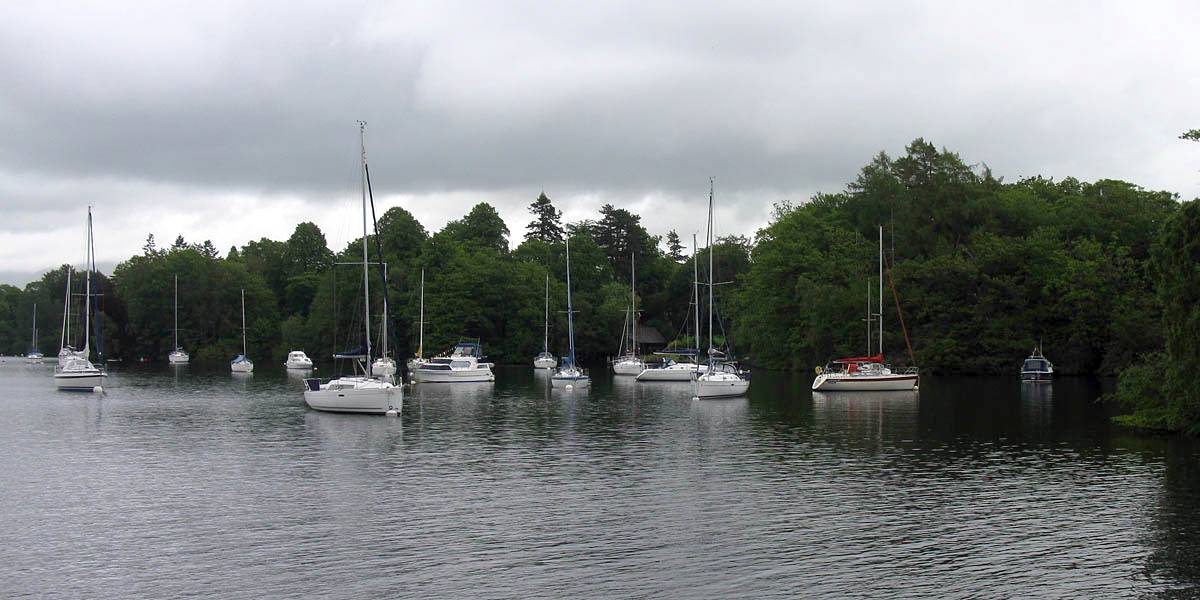
| Lots of boats nestled among the islands, especially near Belle Isle, the biggest island. | Another little red boat! | This boat caught my eye as it has the same name as my sister's childhood nickname. | |||
 IMG_0904.jpg |
 IMG_0905.jpg |
 IMG_0907.jpg |
| Rounding the back of Belle Isle and Bowness coming back into view. | One of the other cruise boats leaving as we return to port. | |
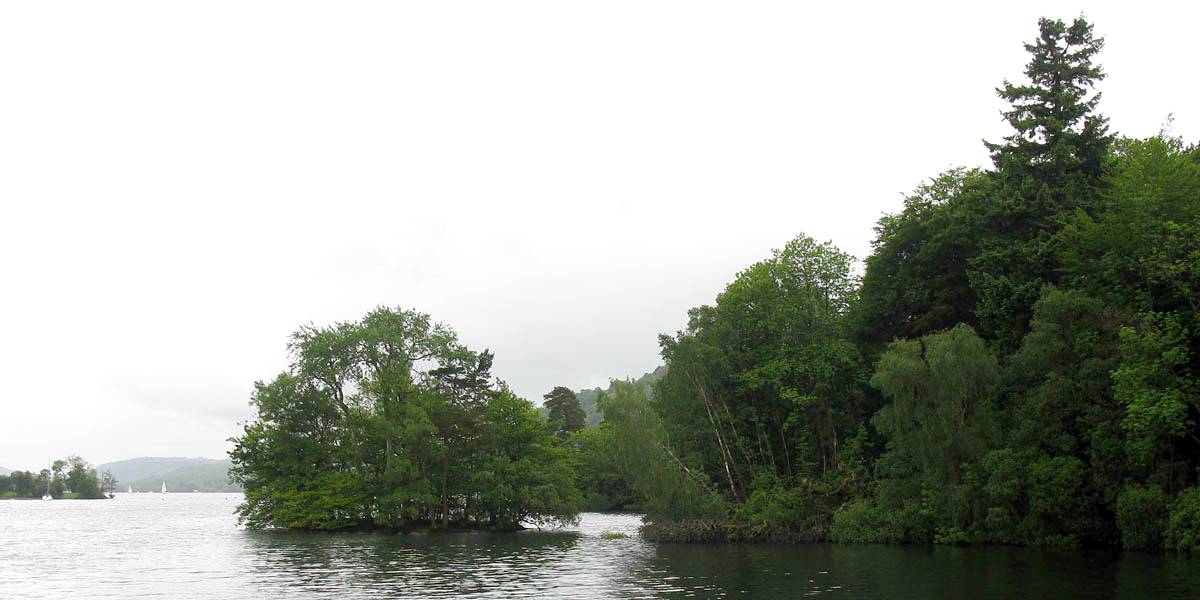
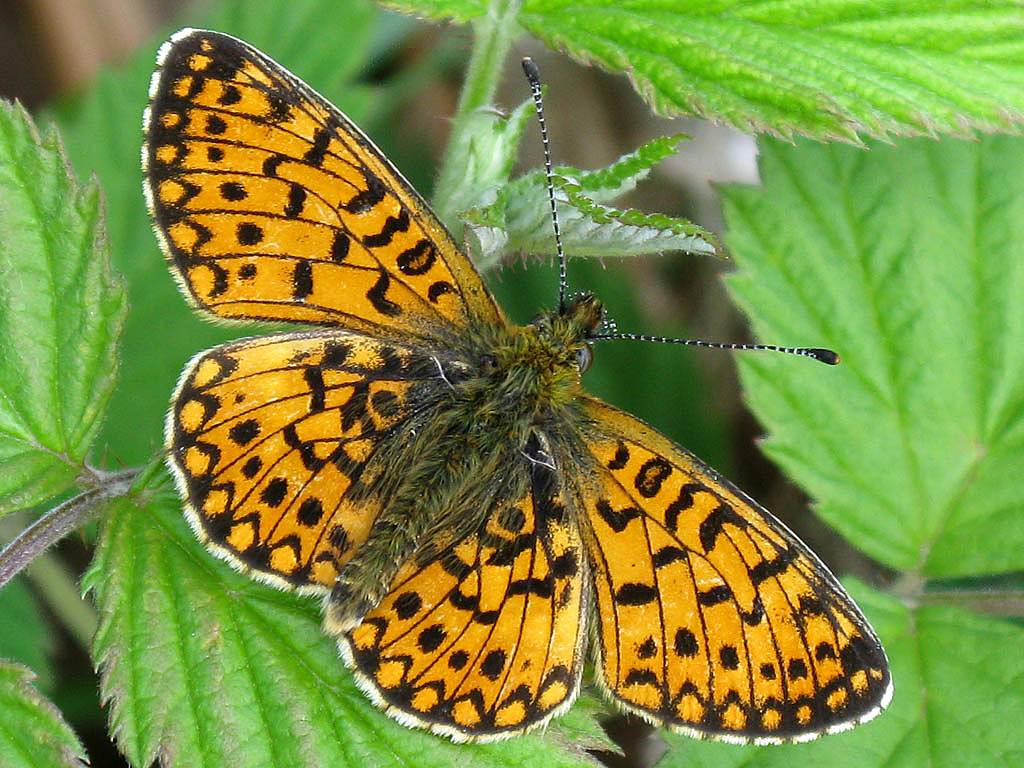
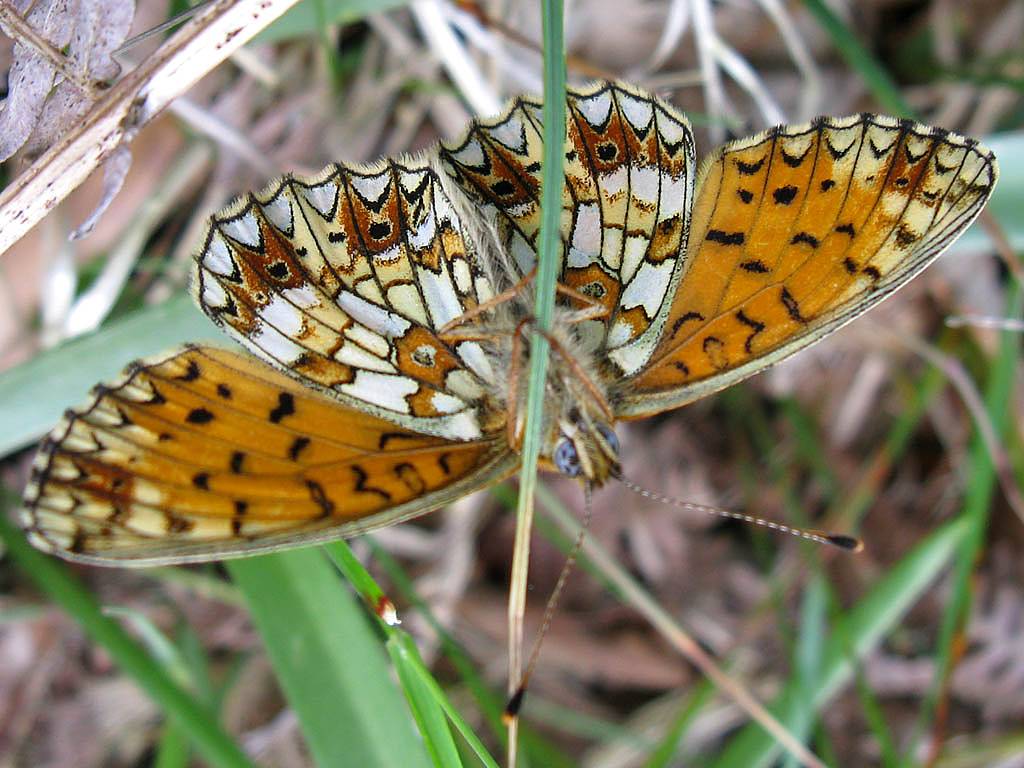
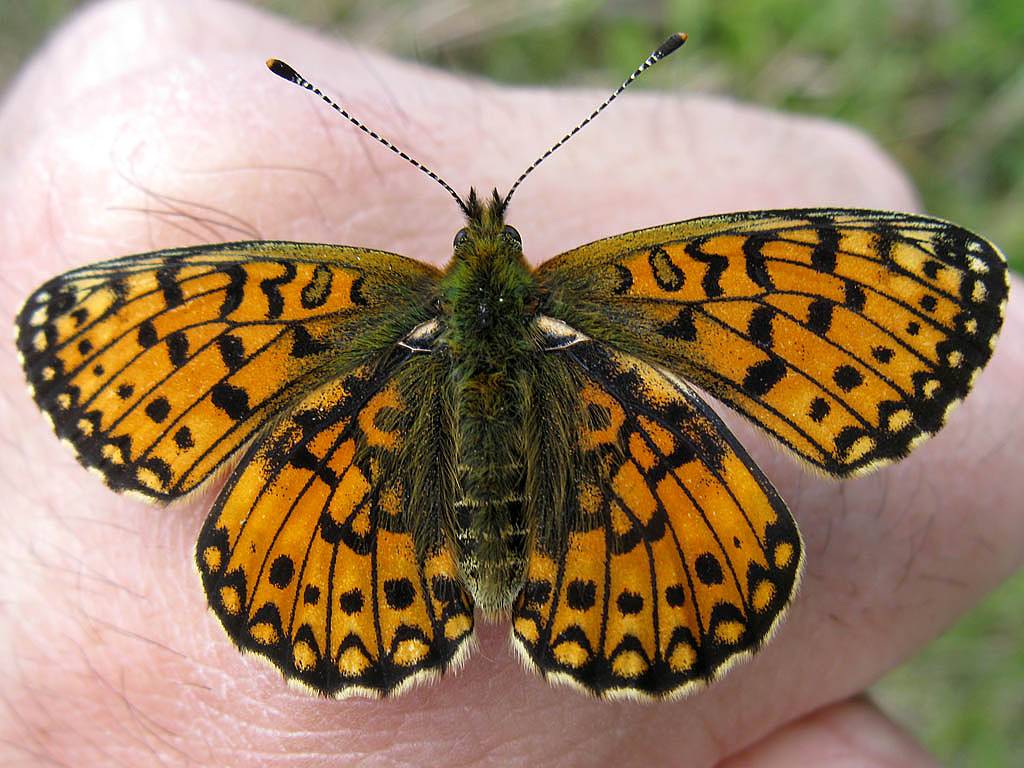
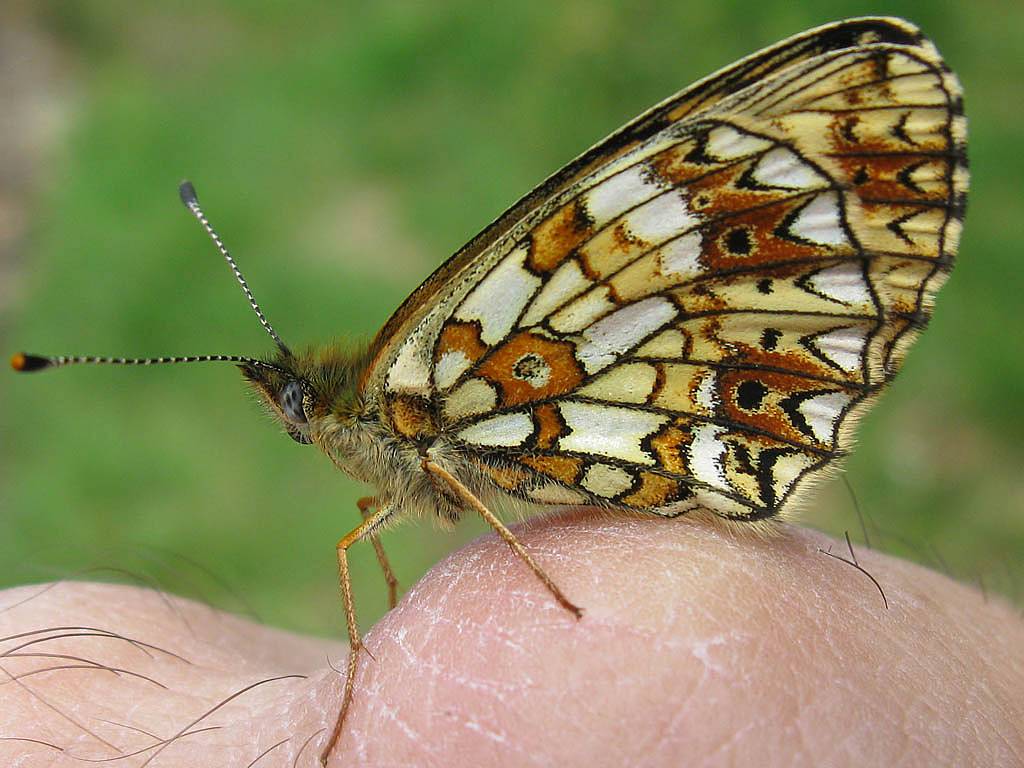
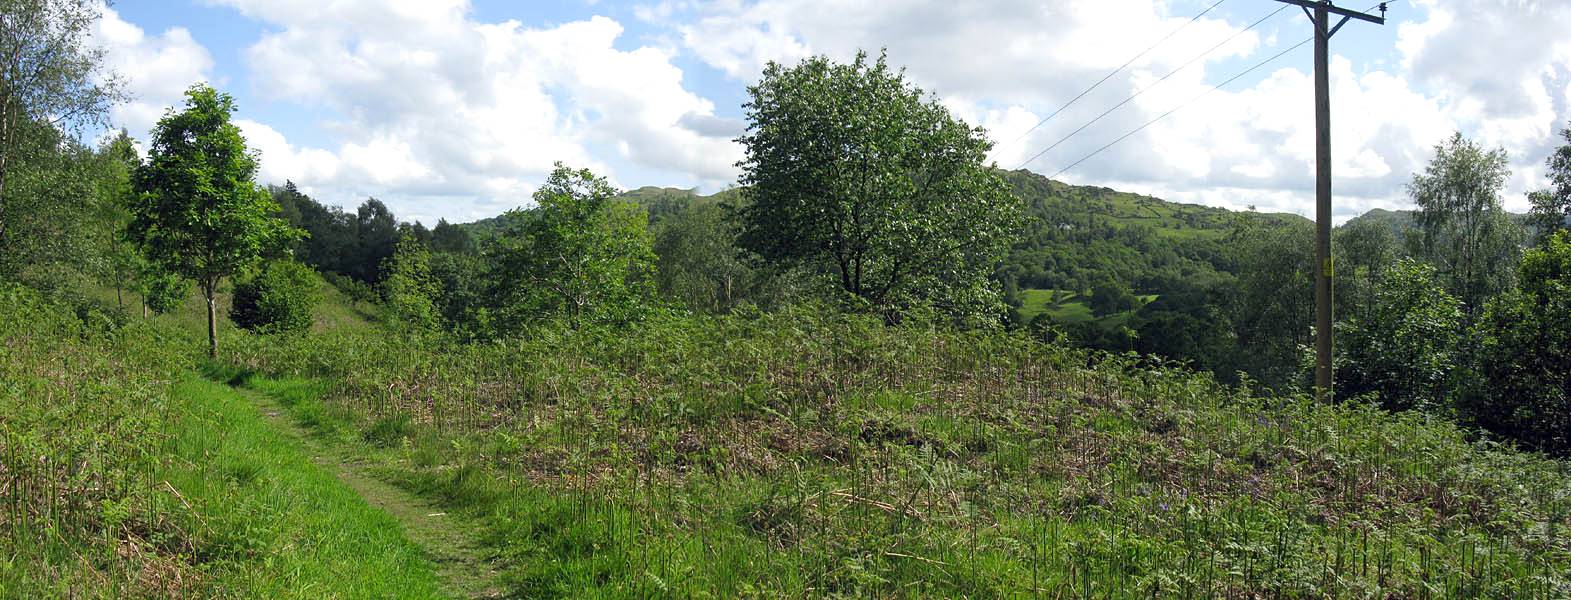
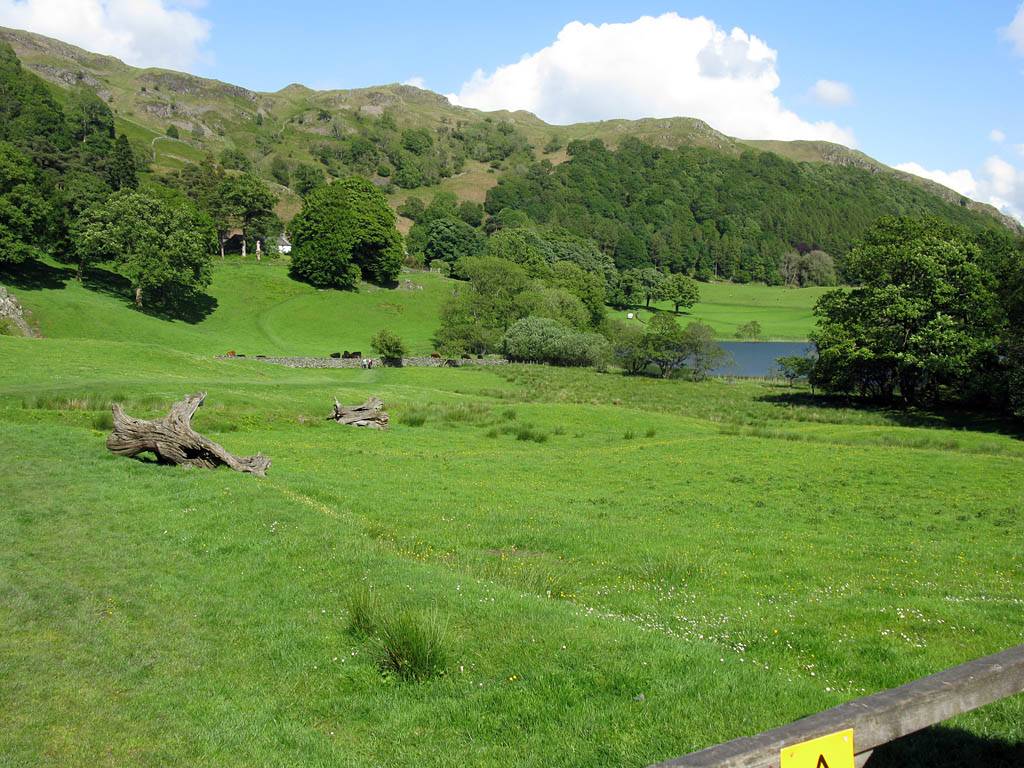
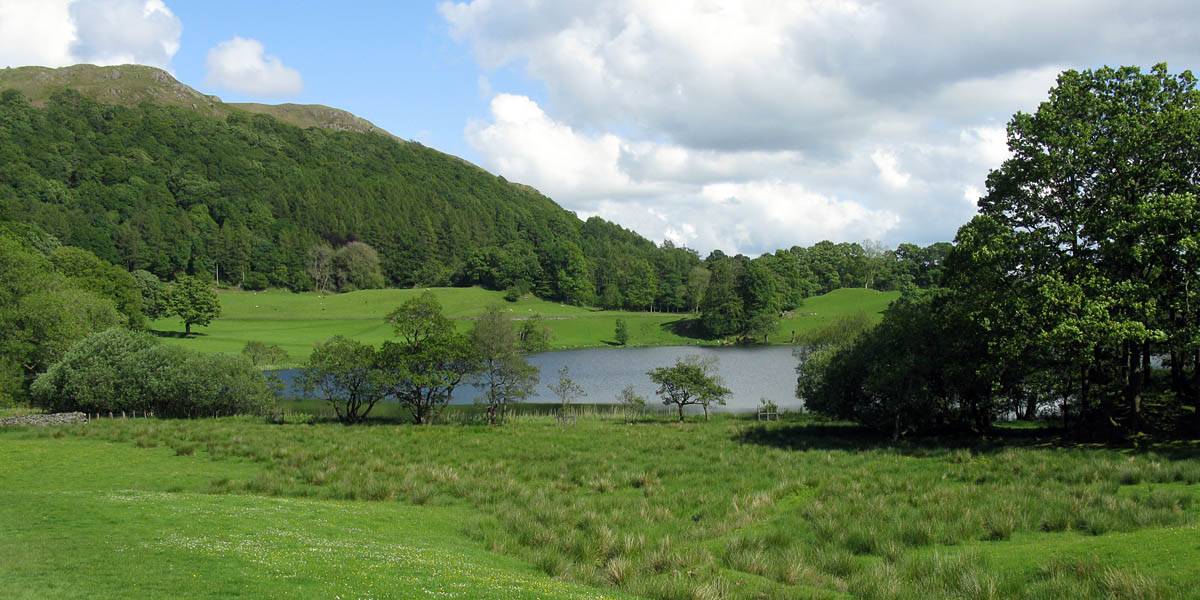
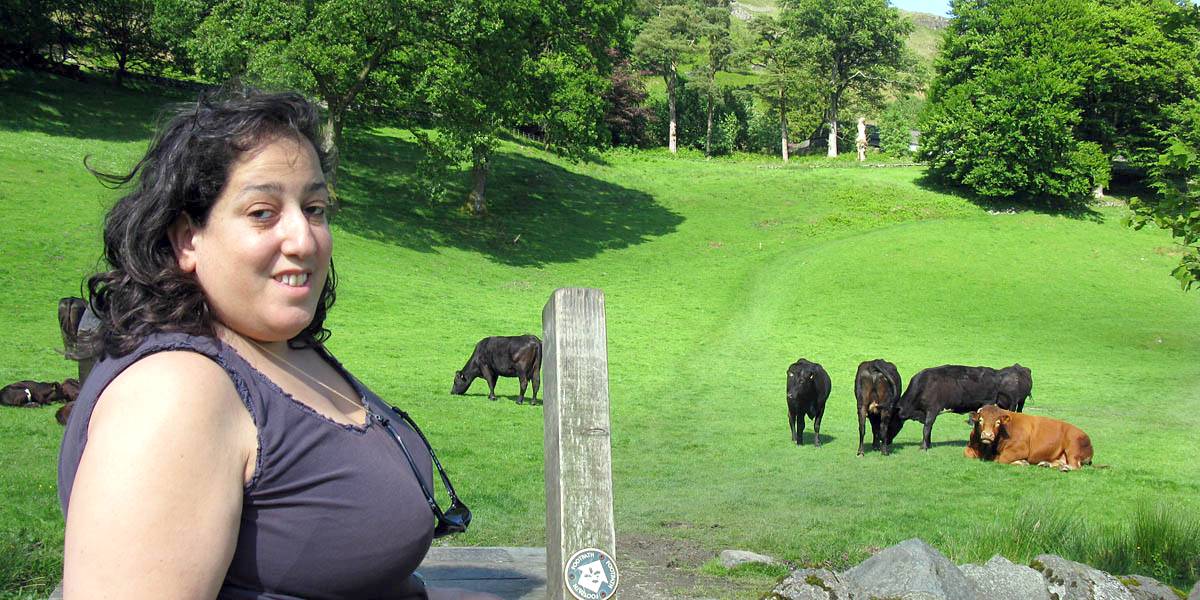
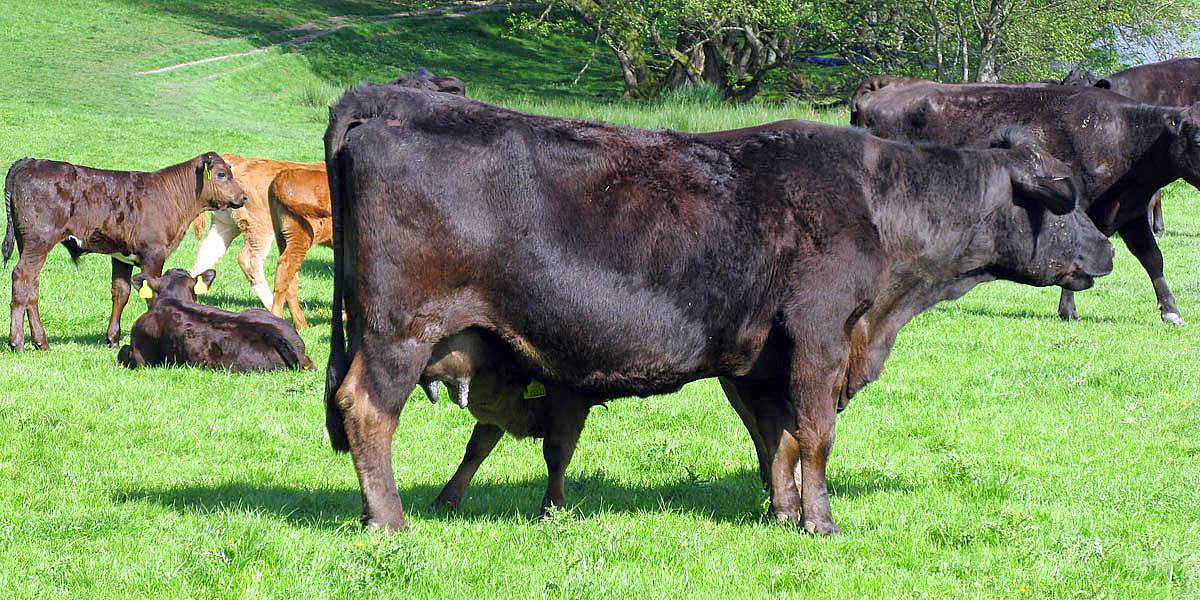
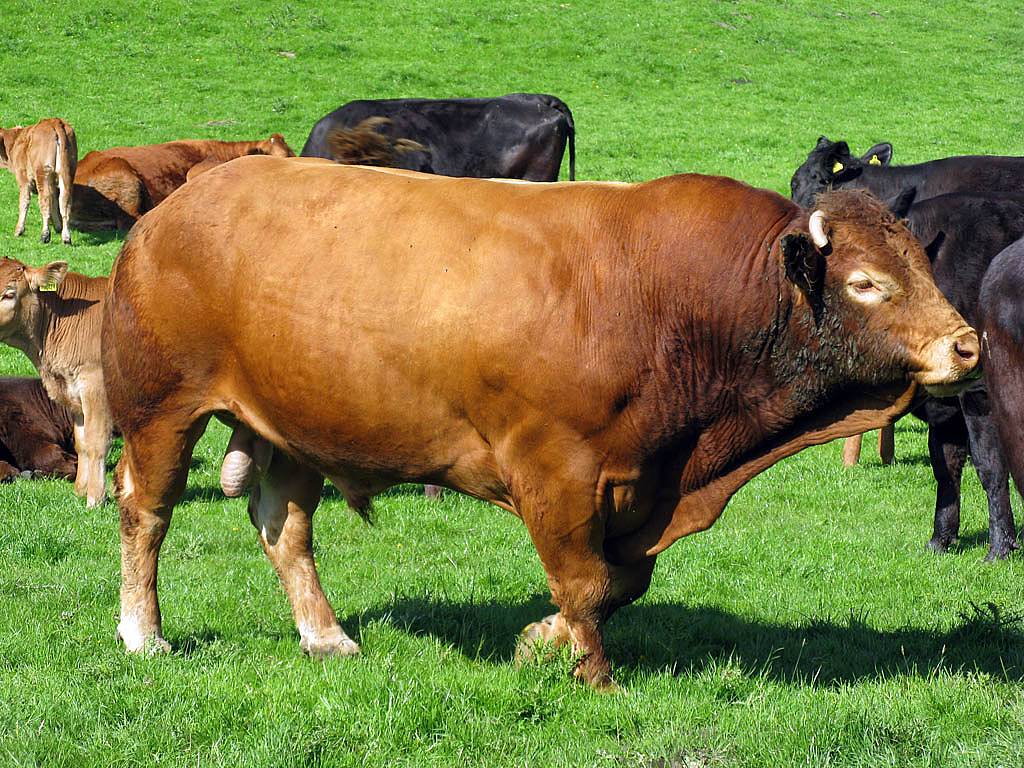
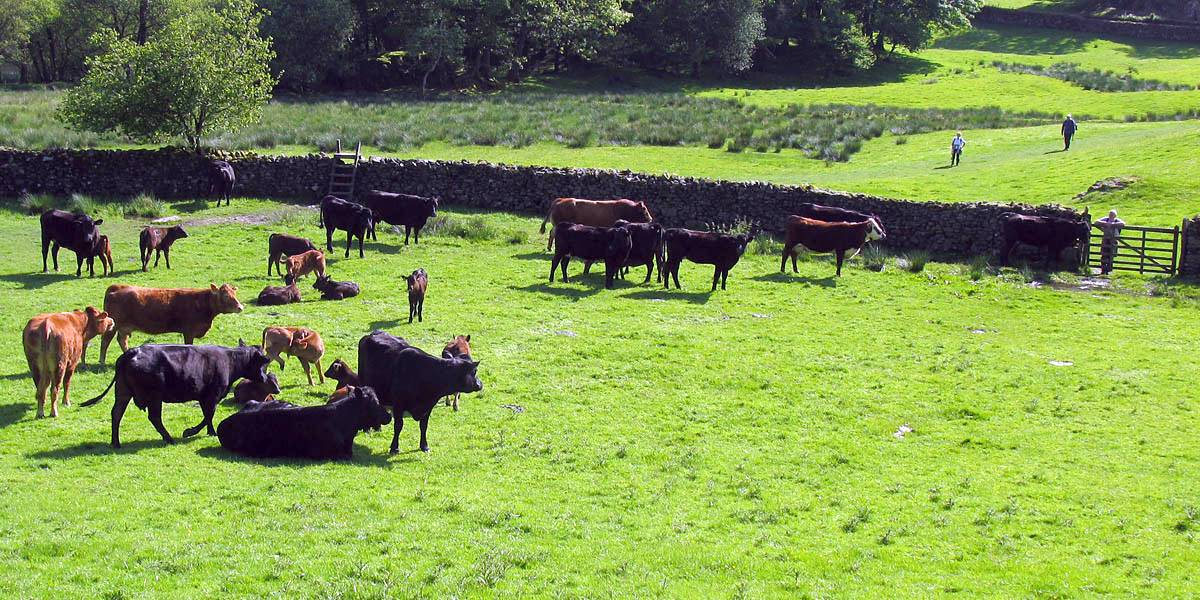
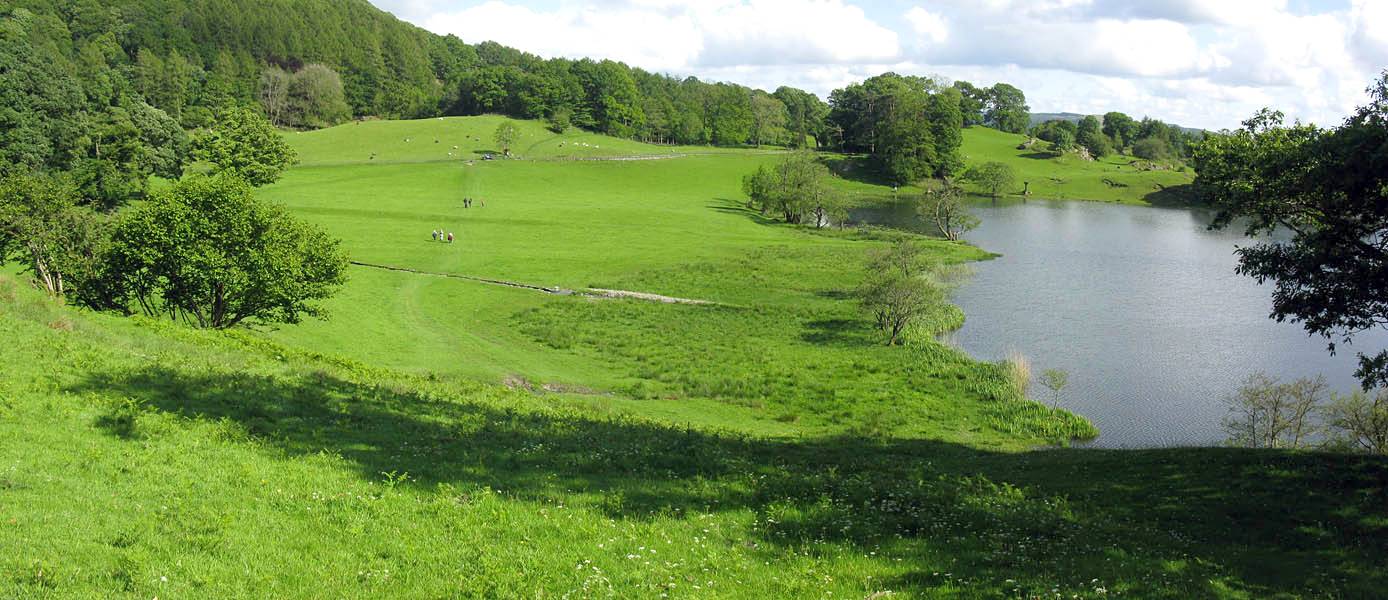
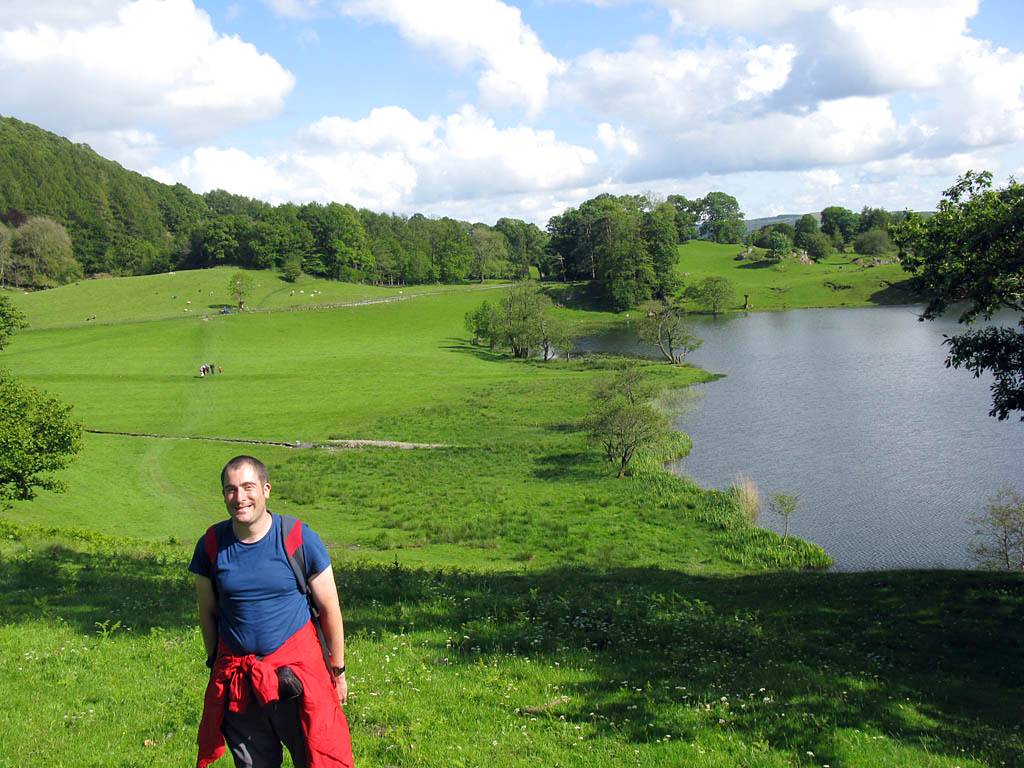
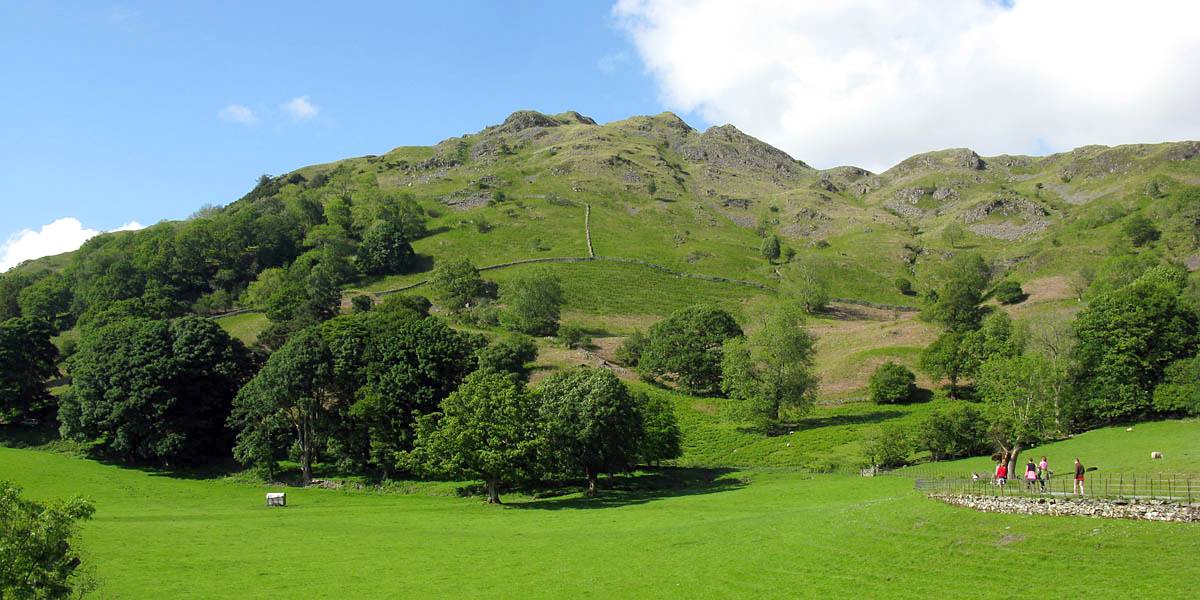
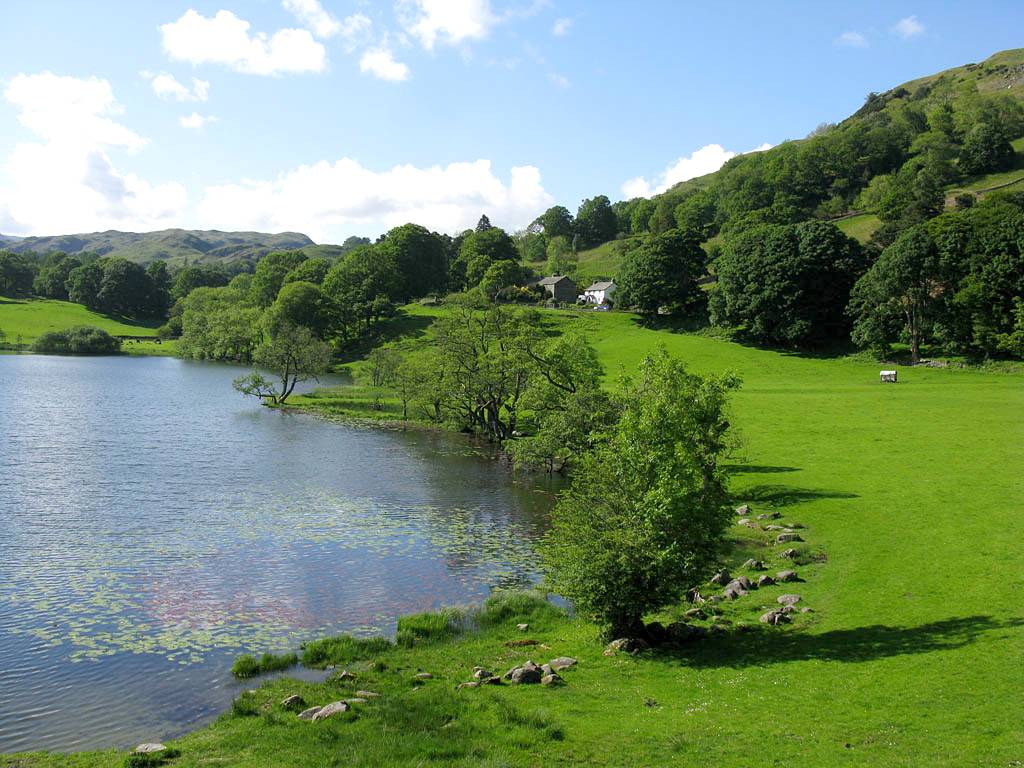
Loughrigg Tarn. We arrived at a rough and seemingly unmaintained car park to find a pay and display meter planted at the front demanding a minimum of Ł3 for 2 hours. The cheek! Once over that shock and we were ready to go we set off up the hill we had to cross over to get to the lake. After running back to the car to retrieve a forgotten iPhone we emerged out of the woods into rough scrubland with lots of bracken growing. Suddenly we were surrounded by Fritillary butterflies! Awesome! I managed 4 nice closeups and identified it as the Small Pearl Bordered Fritillary, and they must have only recently emerged as they were in excellent condition. However on with the walk. Once over the top of the hill Loughrigg Tarn came into view. The walk proceeded to plan. However we hit a problem after crossing the first lakeside field. On the other side of the wall by the style were a large herd of cows, including calves and a large bull. Not fancying getting too close to them, we dithered for a while and considered turning back, until other walkers safely crossed to a nearby gate from the opposite direction. Following their lead we went through the gate and got safely past the herd. Once over a small hill we were walking alongside the lake happily until the next wall on the northeastern side of the lake which was lined with barbed wire and a locked gate! With no way through the walk was unwalkable from this point. In the end we had to cross a small bog to get to another path. From there we sneaked our way through a camp site, along a road and through a caravan site to escape back to a pub called the Skelwith Bridge Hotel.
Click here for more details of the walk as planned.
 IMG_0911.jpg |
 IMG_0918.jpg |
 IMG_0926.jpg |
 IMG_0933.jpg |
 IMG_0934_0935_Panorama.jpg |
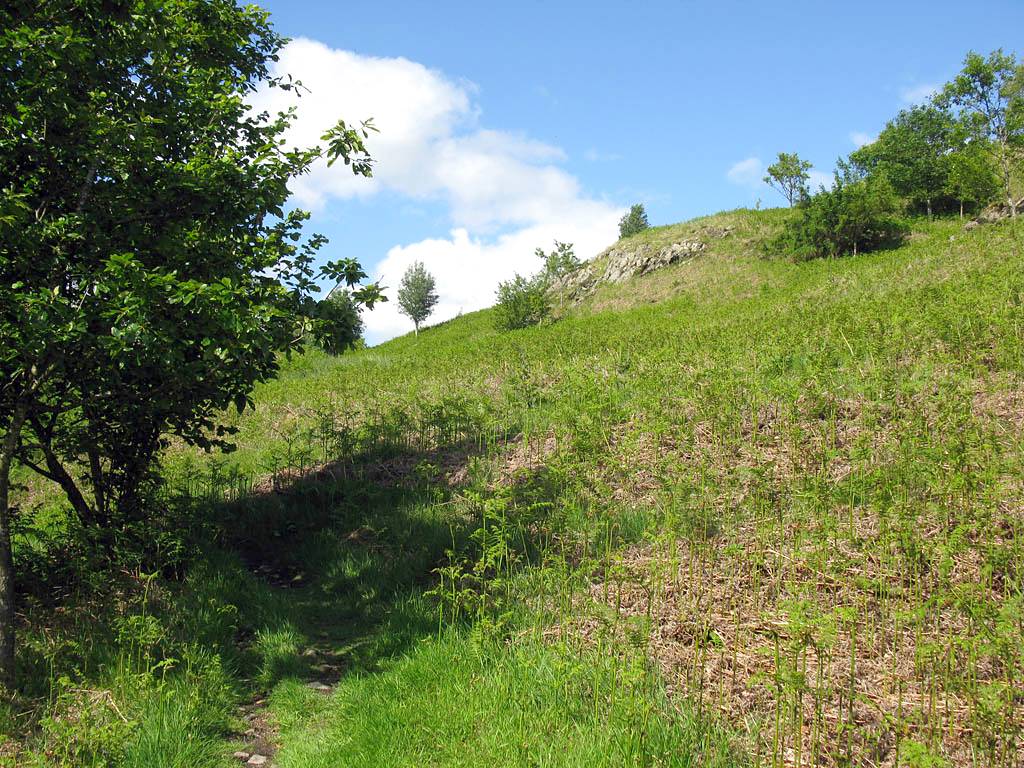
| Four closeup pictures of a Small Pearl Bordered Fritillary. | The scrubby hill, Crag Head, West-southwest of Loughrigg Tarn which the fritillaries call home. | |||
 IMG_0937.jpg |
 IMG_0938.jpg |
 IMG_0939.jpg |
 IMG_0942.jpg |
 IMG_0943.jpg |
 IMG_0944.jpg |
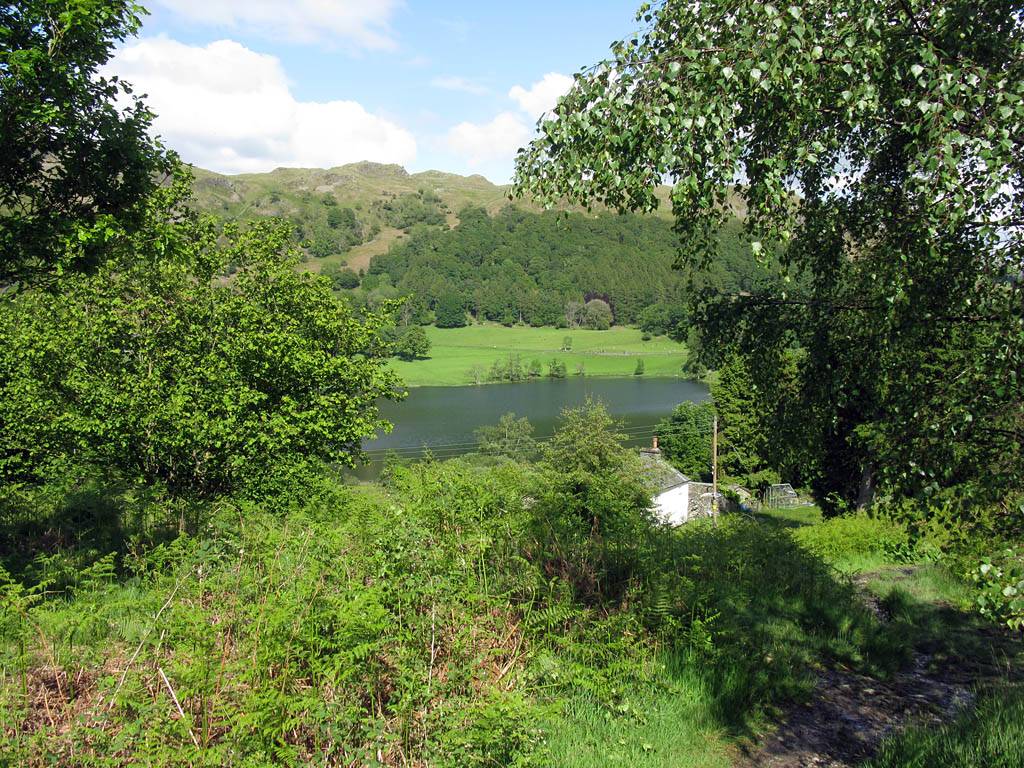
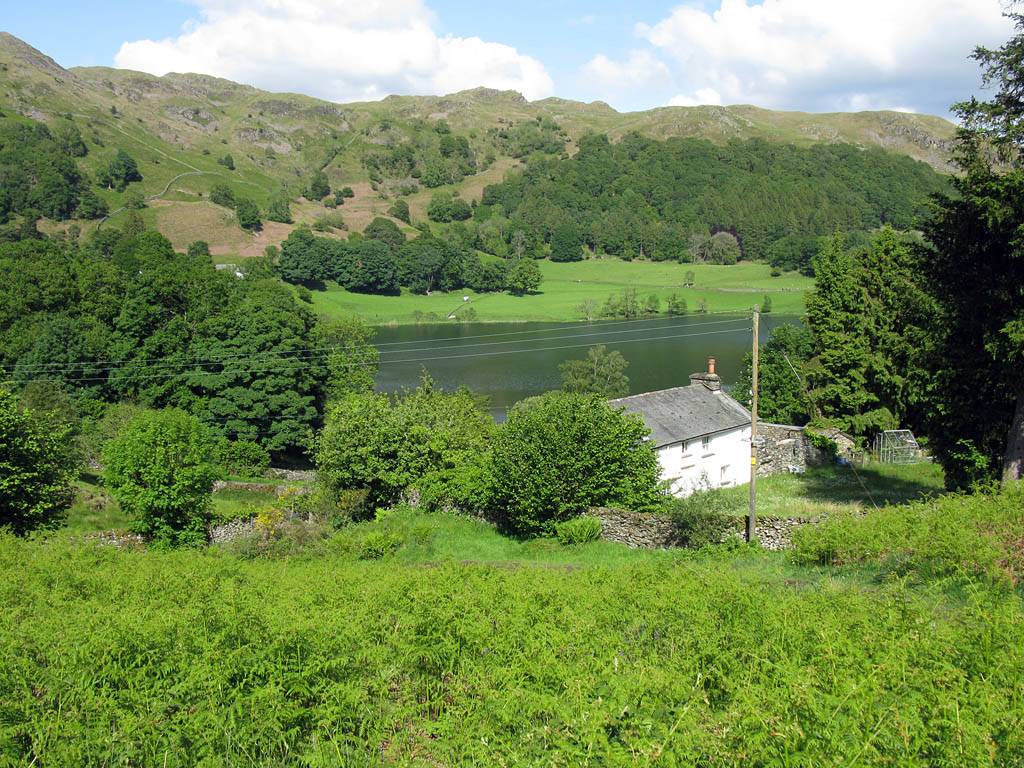
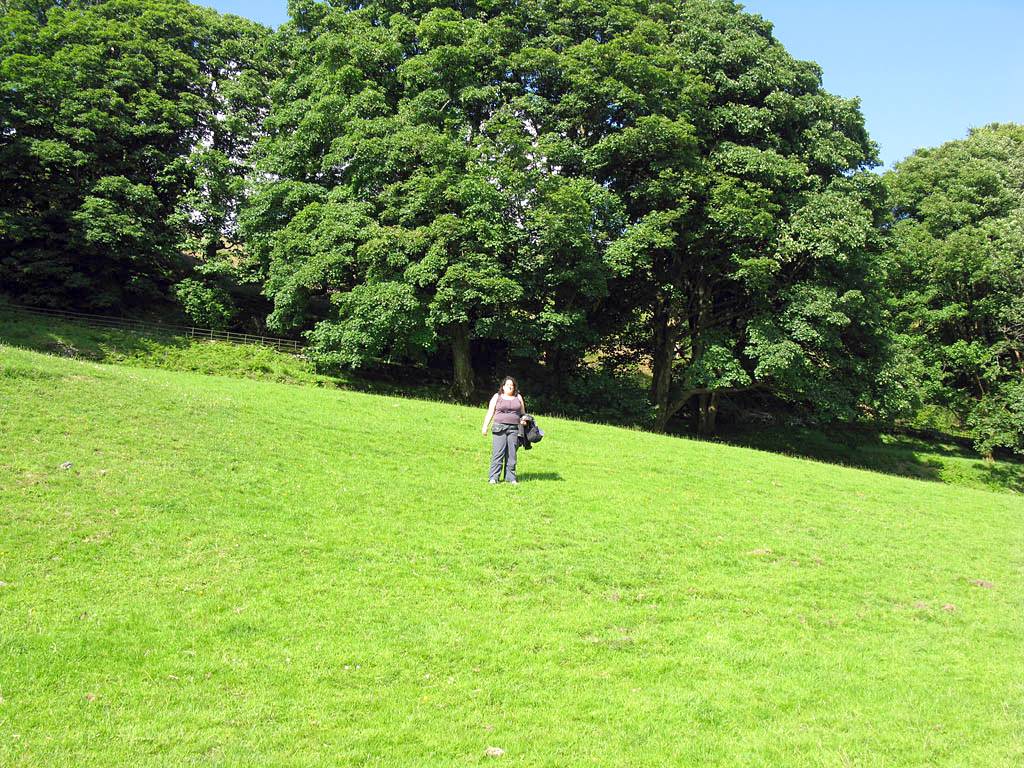
| Another view on Crag Head. | Loughrigg Tarn comes into view as we descend from Crag Head. | The minor road that skirts past the Southwestern side of the lake. | Crossing the first lakeside field after the road. | ||
 IMG_0945.jpg |
 IMG_0946.jpg |
 IMG_0947.jpg |
 IMG_0948.jpg |
 IMG_0949.jpg |
| Cows on the other side of the wall in the next field. | Renée on the style over the wall with the cows behind. | A calf suckling and the bull clearly in charge. | ||
 IMG_0950.jpg |
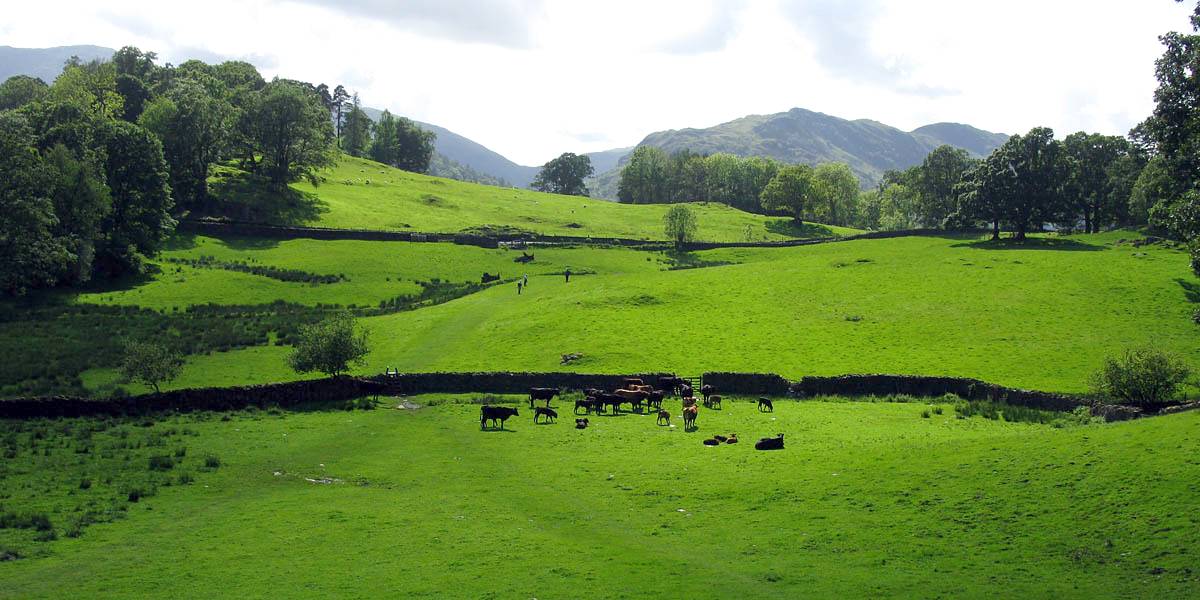 IMG_0953.jpg |
 IMG_0954_0955_Panorama.jpg |
 IMG_0956.jpg |
 IMG_0958.jpg |
| Looking back after we pass the gate and escape up the hill. Soon after the cows move and block the gate. | Looking along the northern side of the lake. | Renée on the small hill above the cows. | ||
 IMG_0959_0962_Panorama.jpg |
 IMG_0964_0975_360Panorama.jpg |
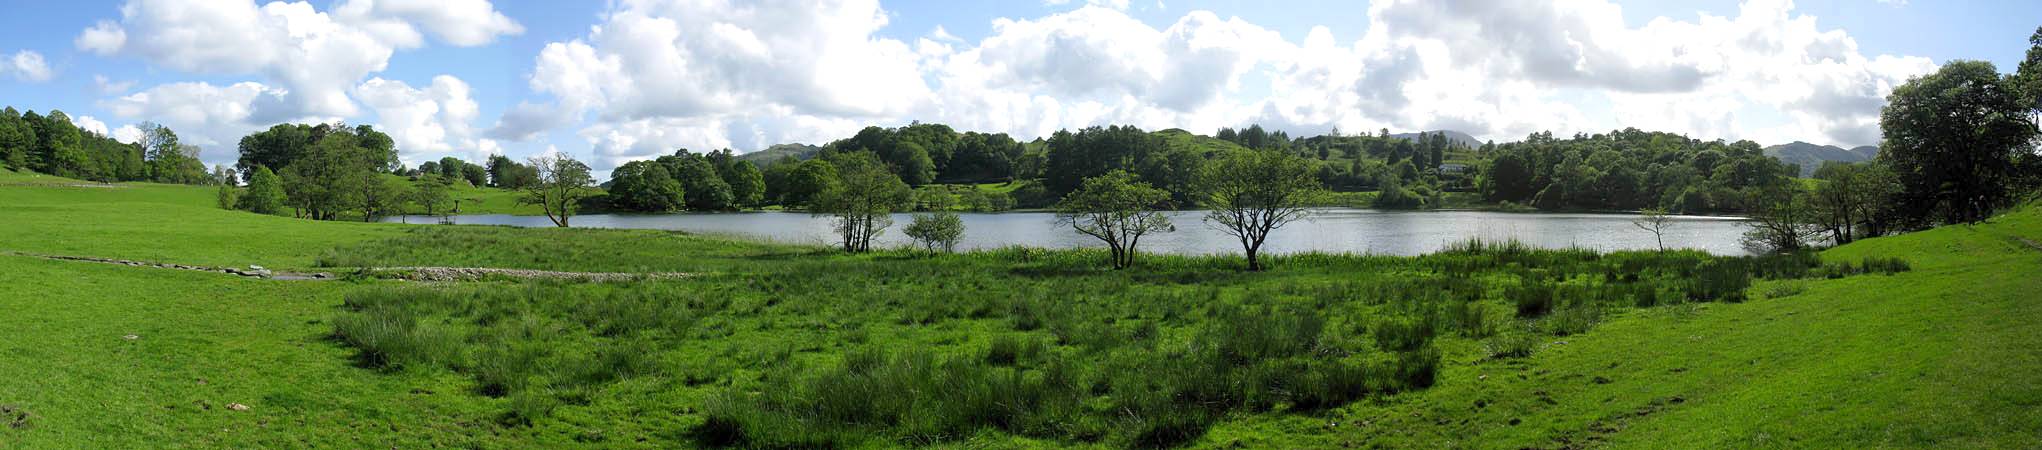
| Panoramas on the northwestern and northern side of the lake as we walk along close to the water's edge. | |
 IMG_0976.jpg |
 IMG_0978.jpg |
 IMG_0980_0983_Panorama.jpg |
 IMG_0984.jpg |
 IMG_0985.jpg |
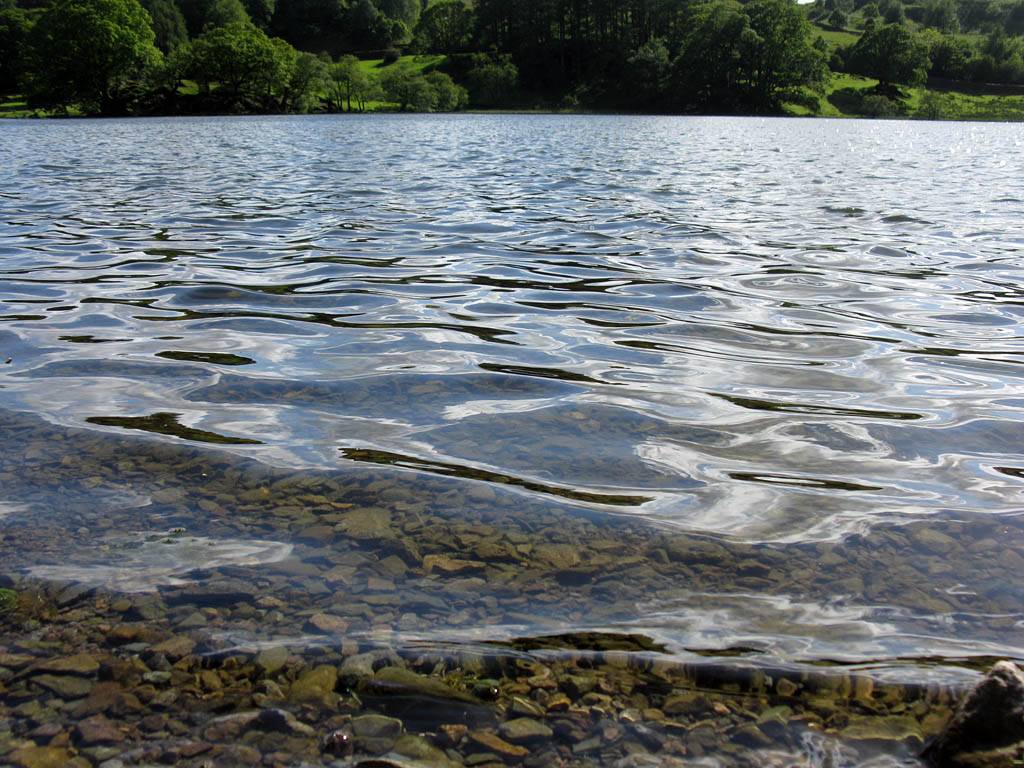
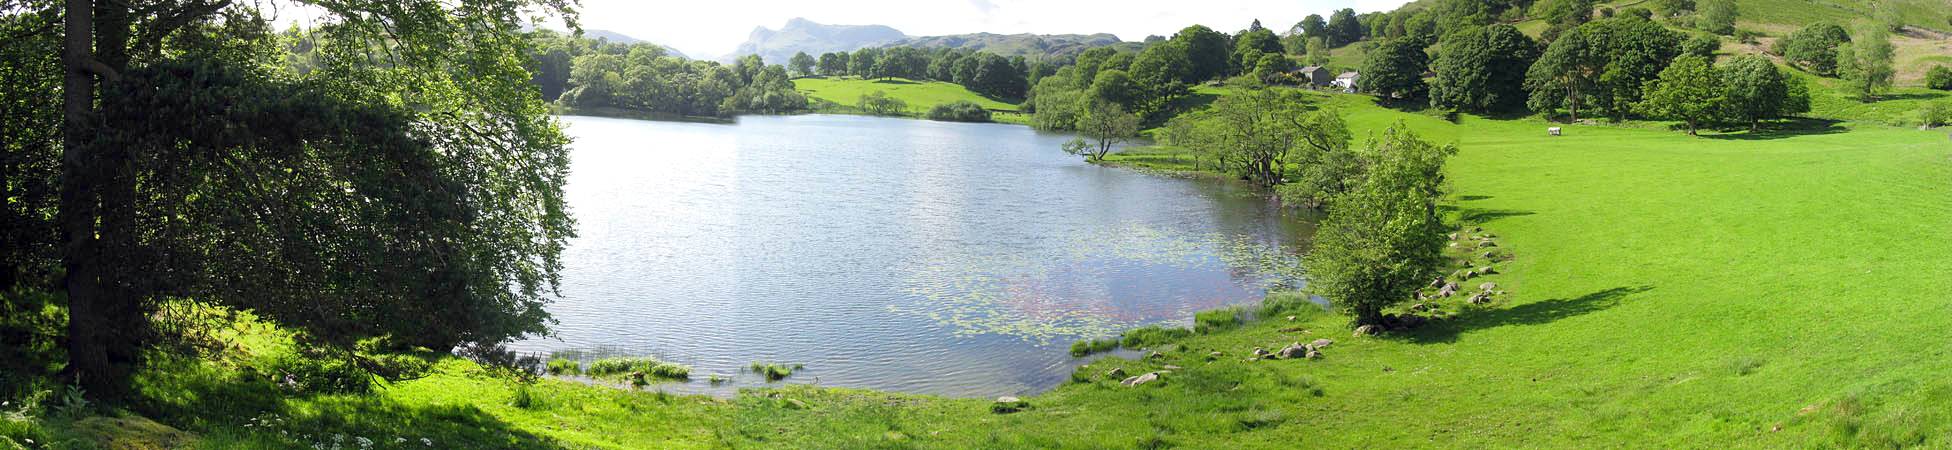
| An arty closeup of the crystal clear water lapping at the edge of the lake. | Lillypads and another panorama taken on the northeastern side of the lake. | Loughrigg Fell towering above the lake. | Another view back along the northern side of the lake. | |
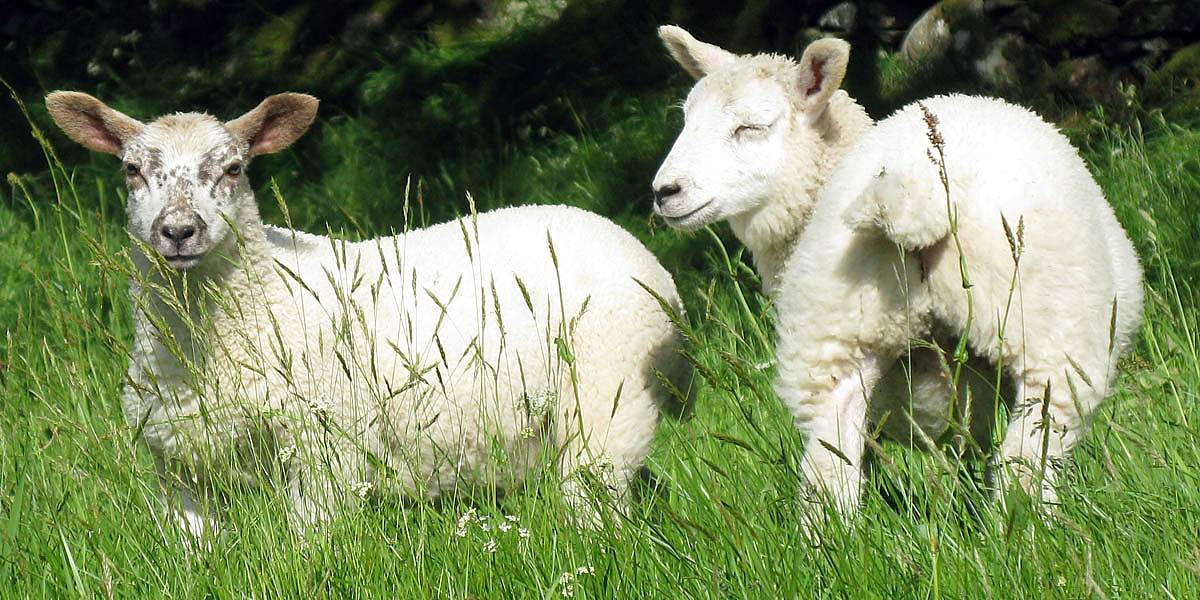
Skelwith Bridge Hotel Pub. Once here I saved Renee a tedious uphill walk along a dangerous road, leaving her at the pub while I went up the road to collect the car. On the way I passed Skelwith Force again and more lambs but was focussed on getting to the car as soon as possible and driving it back to the pub. Then after a drink we headed back to Ambleside and on back to Bowness.
 IMG_0987.jpg |
 IMG_0988.jpg |
 IMG_0989.jpg |
 IMG_0990.jpg |
 IMG_0991.jpg |
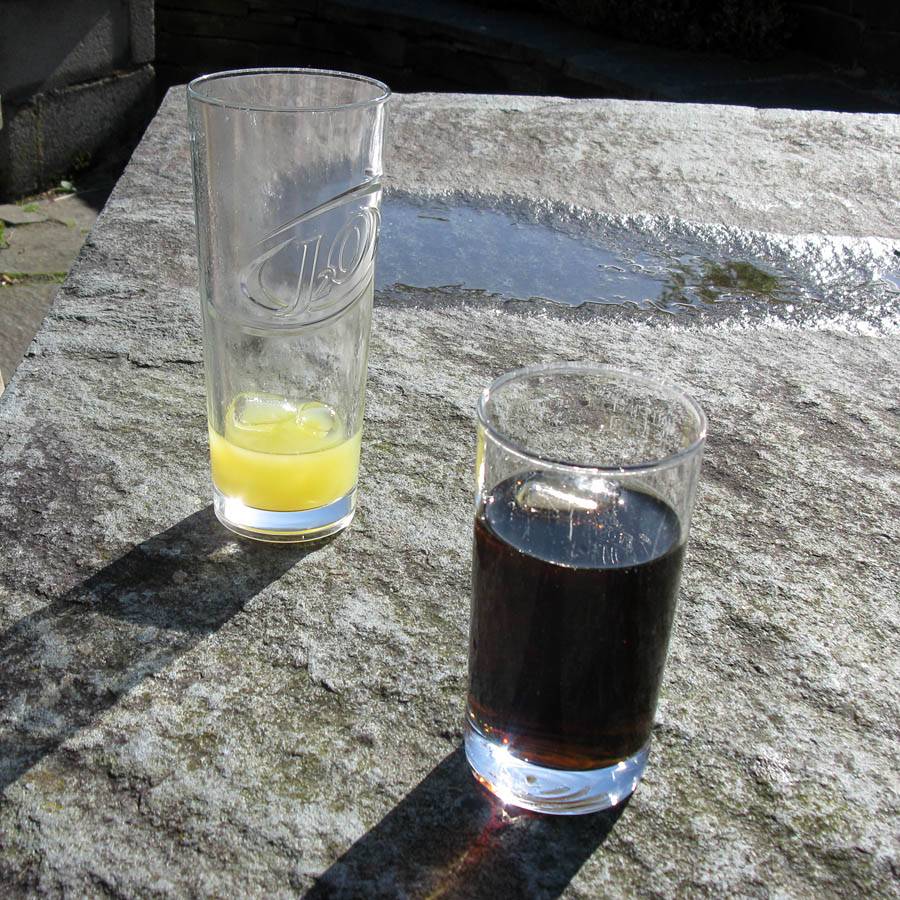
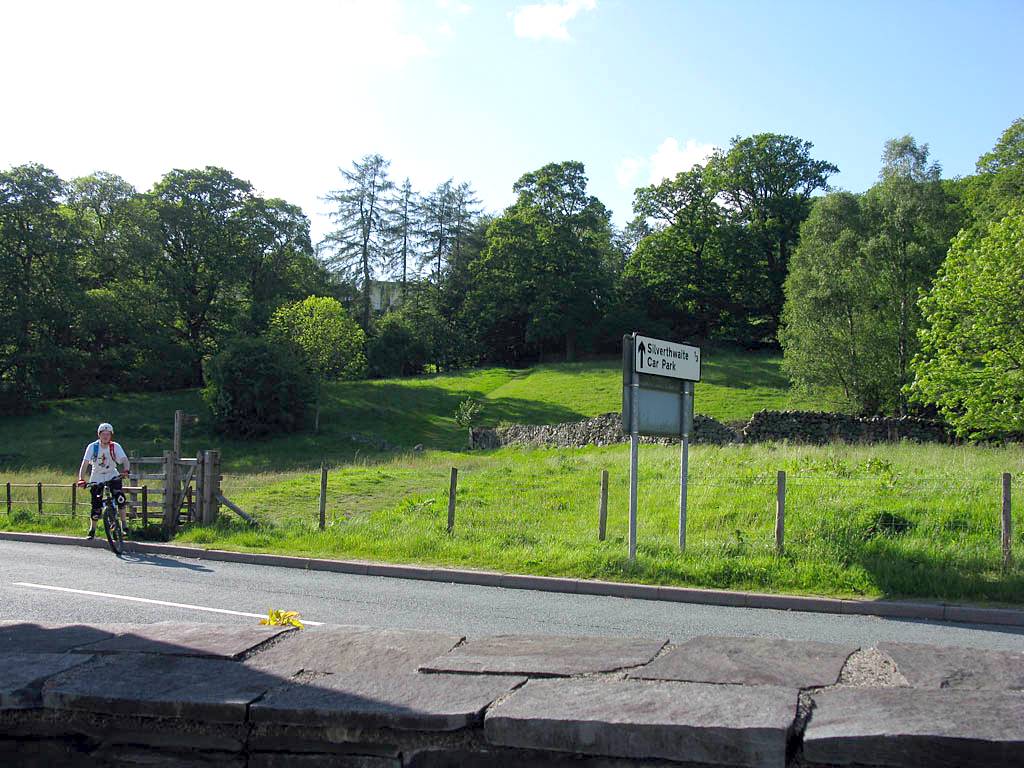
| Lambs alongside the road near Skelwith Force. | Chilling out at the Skelwith Bridge Hotel pub after the walk. | Where we emerged at the end of the walk. A third of a mile from the carpark. | ||
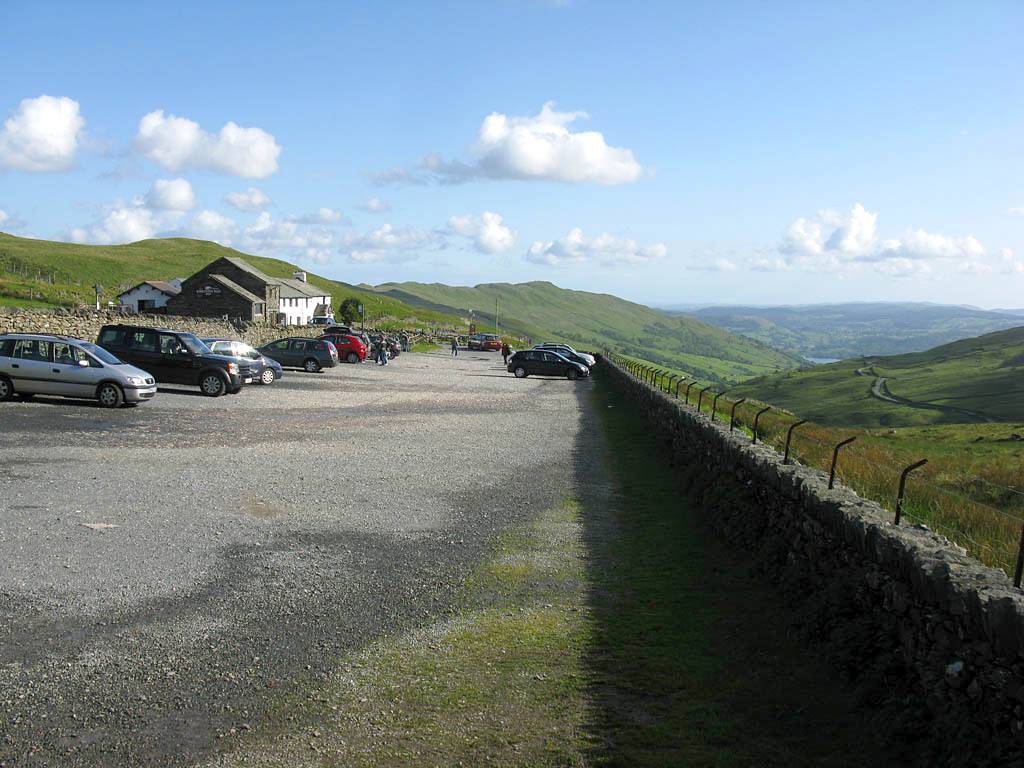
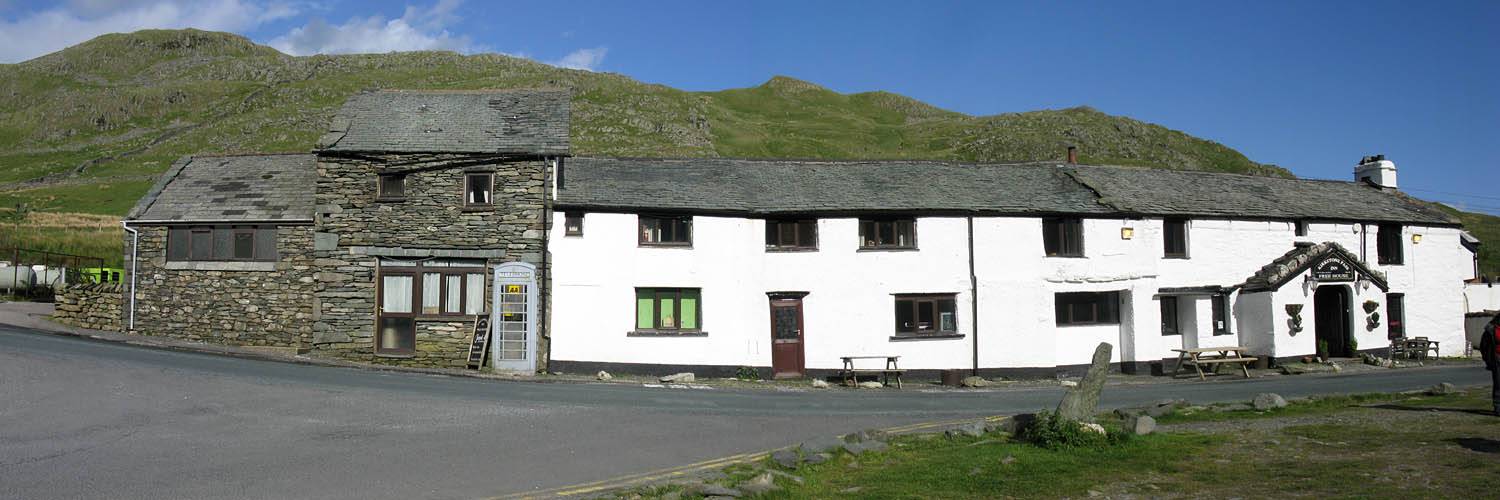
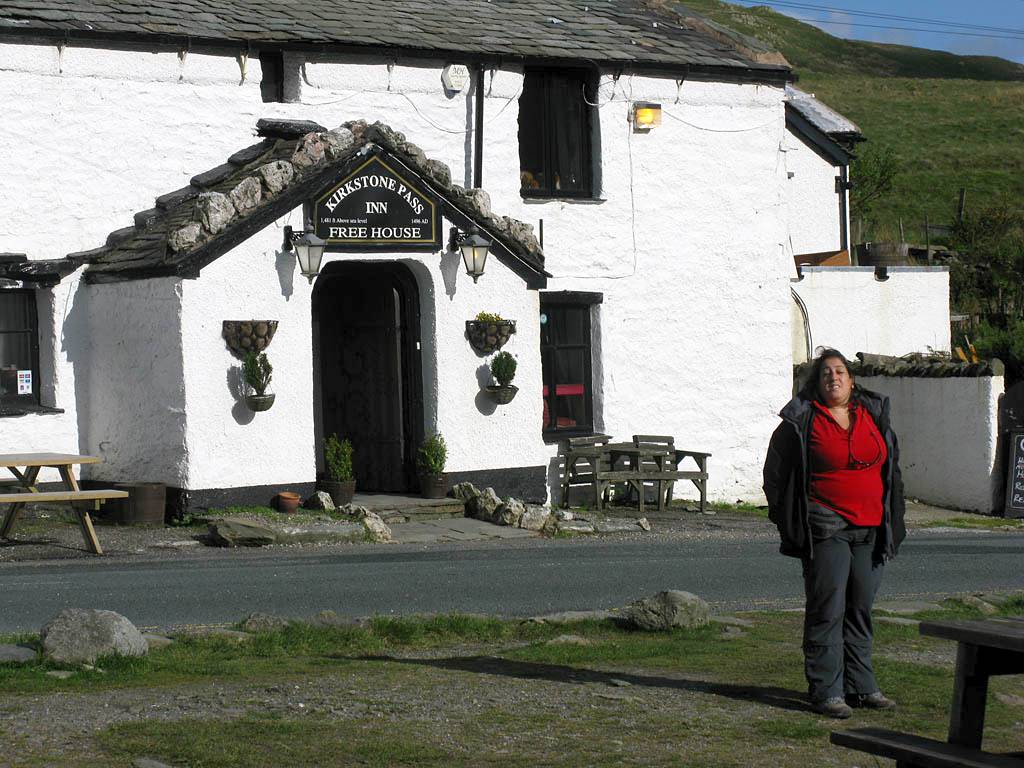
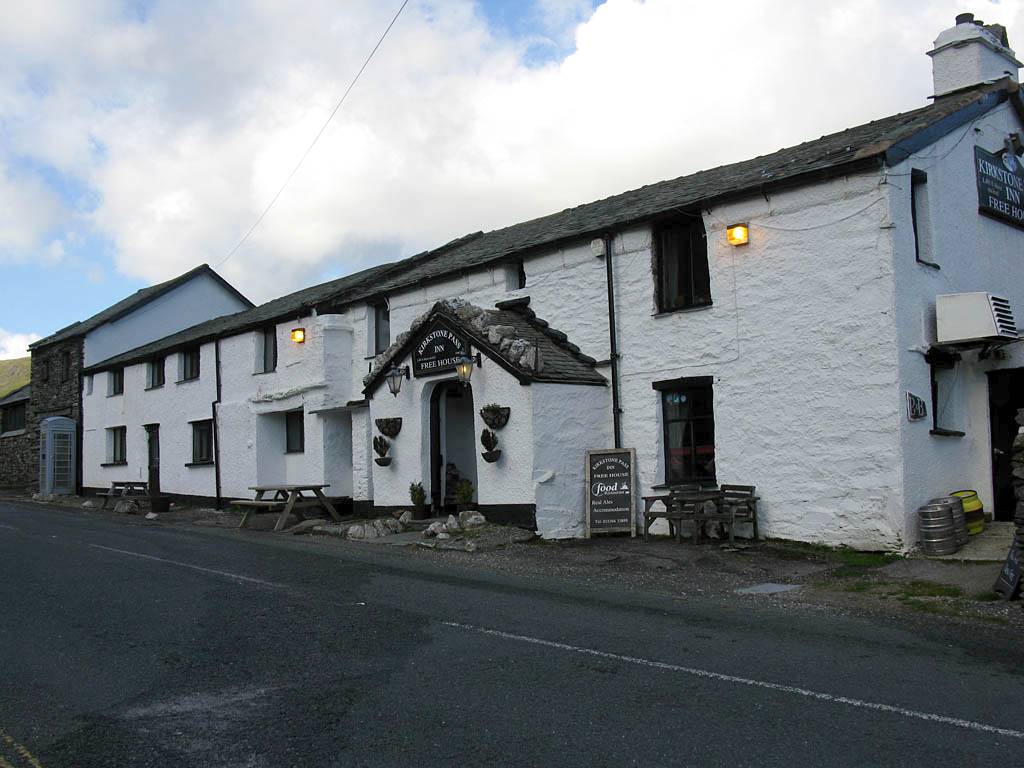
Kirkstone Pass Inn. We decided to go back up the Kirkstone Pass (via the easier A592 instead of via the struggle) for supper. The weather, unlike two days ago, was sunny and clear, and this time we could see for miles. We stopped at the Kirkstone Pass Inn pub as planned and had a nice supper before turning tail and returning to Bowness to retire for the night.
 IMG_0994.jpg |
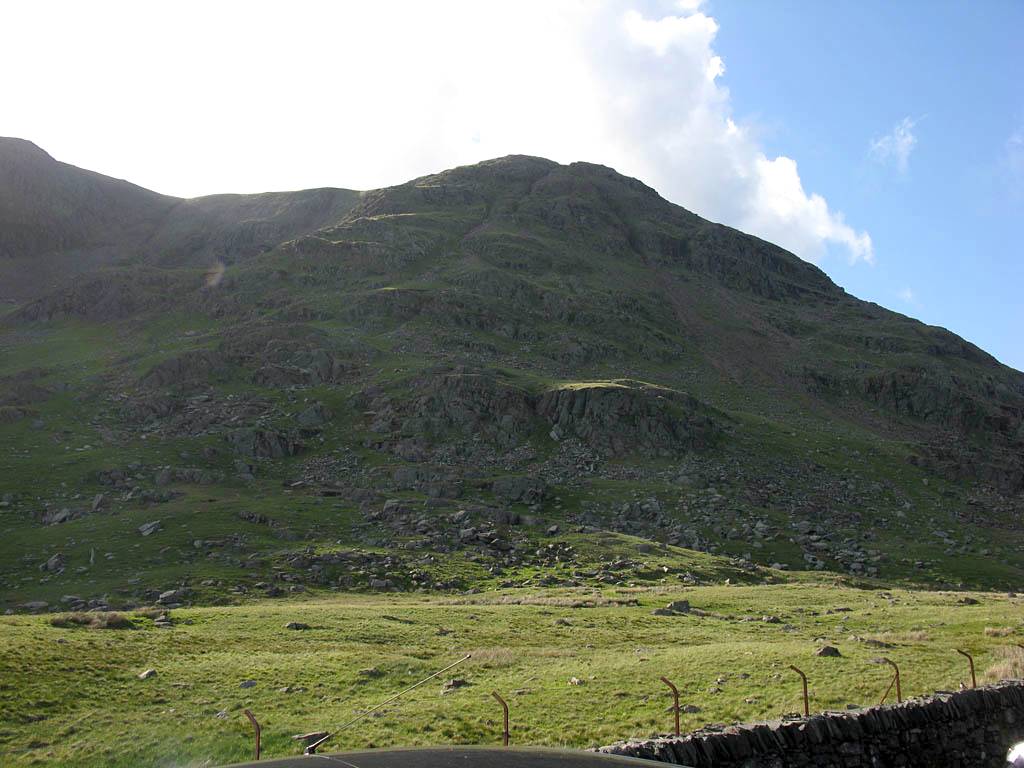 IMG_0996.jpg |
 IMG_0998_0999_Panorama.jpg |
 IMG_1000.jpg |
 IMG_1001.jpg |
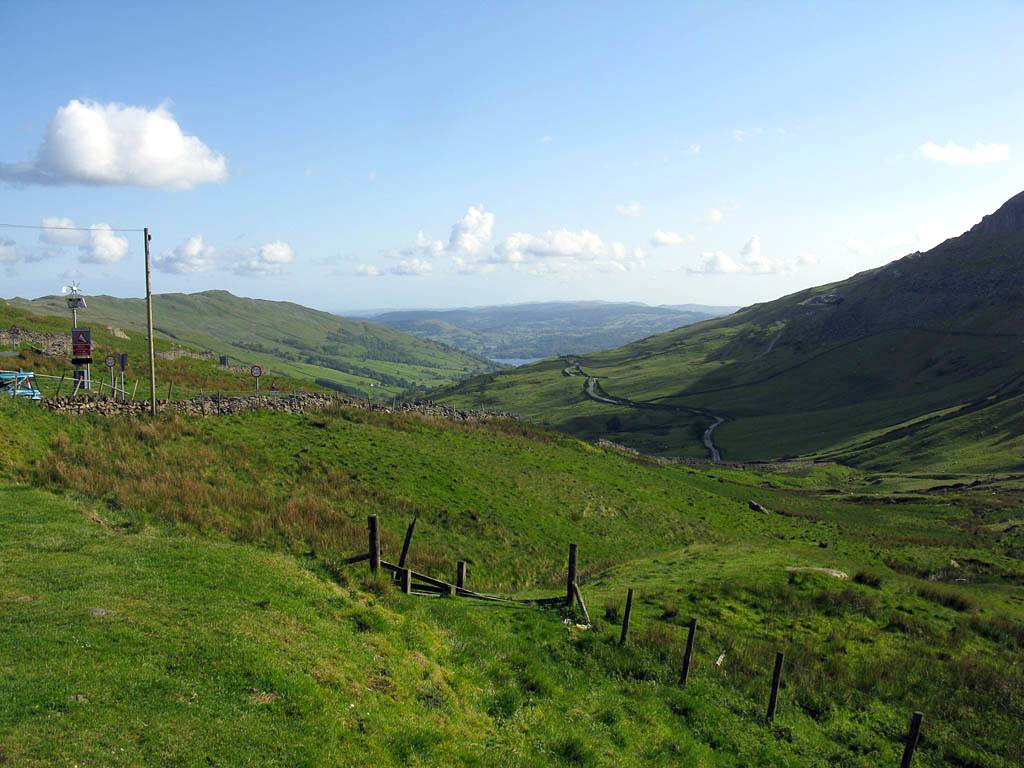
| The Kirkstone Pass Inn carpark. Great view! | Scandale Fell towering above the carpark to the West. | The Kirkstone Pass Inn. | Looking down The Struggle as it snakes its way to Ambleside. | |
 IMG_1002.jpg |
 IMG_1003.jpg |
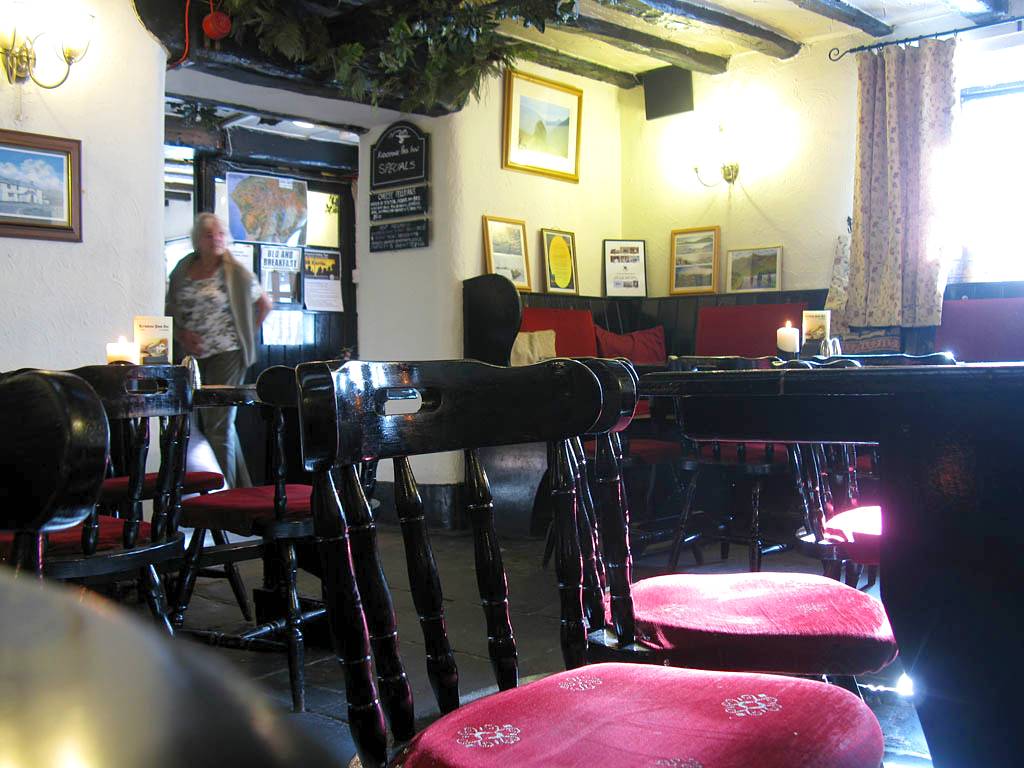 IMG_1006.jpg |
 IMG_1008.jpg |
 IMG_1009.jpg |
| A closer look at The Struggle and Windermere beyond. Bistham Tarn visible beyond, and Hawkeshead village in the central background. | So we are 1481 feet above sealevel... | Inside the pub. | More views of the pub as we depart after the meal. | |
Click here to return to the main Pictures index.
Click here to return to the main 2011 General Pictures Page.
Please click here to go back to Lake District 2011 Page 1.
Or click here to go back to Lake District 2011 Page 2.
Or click here to go back to Lake District 2011 Page 3.
For more pictures please click here to go to Lake District 2011 Page 5.